Halloween is the one time of year when your manicure is allowed to be dramatic, strange, and a little bit terrifying. Whether you want bloody drips, tiny ghosts, glittering cobwebs, or a subtle moody shade that whispers “haunted,” there is a design for you. This guide covers 20 topics to help you plan the perfect spooky Halloween nails, from classic color combinations and trending nail art to shapes, tools, DIY tips, and long-lasting care. Bookmark it, screenshot your favorite ideas, and bring them to your nail tech or try them at home.
1. Why Spooky Halloween Nails Are the Ultimate Seasonal Statement
Halloween nails are more than a passing trend. They are a small, wearable piece of costume that you can show off for weeks before October 31st. Unlike a full outfit, a spooky manicure fits into everyday life, from the office to a dinner date to the school run. It also gives you room to be creative without committing to a full costume.
There is a practical side, too. Nails are a low-cost, low-risk way to experiment with bold colors and detailed art. If you love the result, you can wear it all season. If you don’t, it grows out or comes off in a matter of weeks. Social media also plays a big role, since close-up nail photos consistently rank among the most shared seasonal beauty content. A great set of spooky Halloween nails is fun, personal, and easy to photograph.
2. Classic Black and Orange Halloween Nail Designs
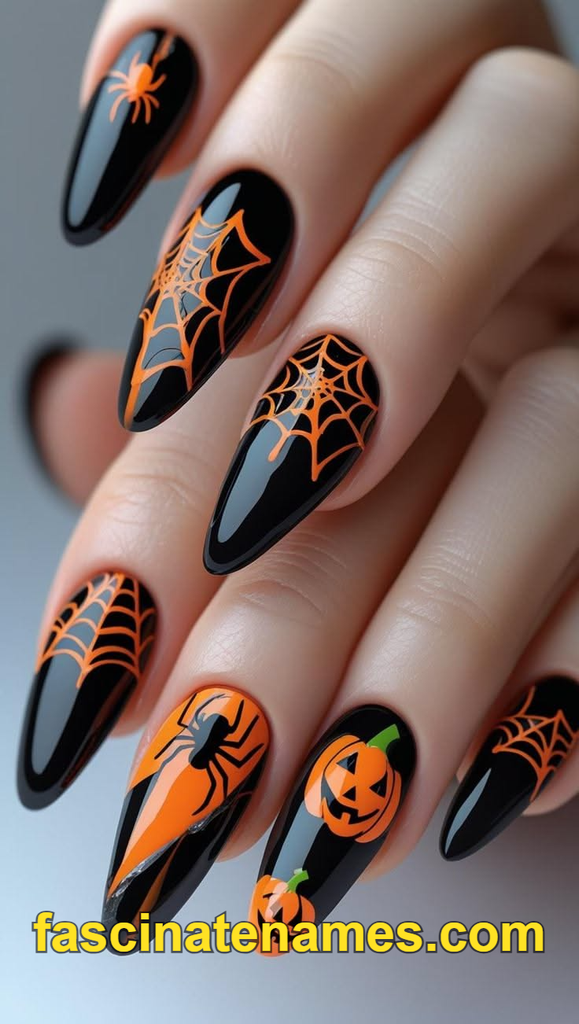
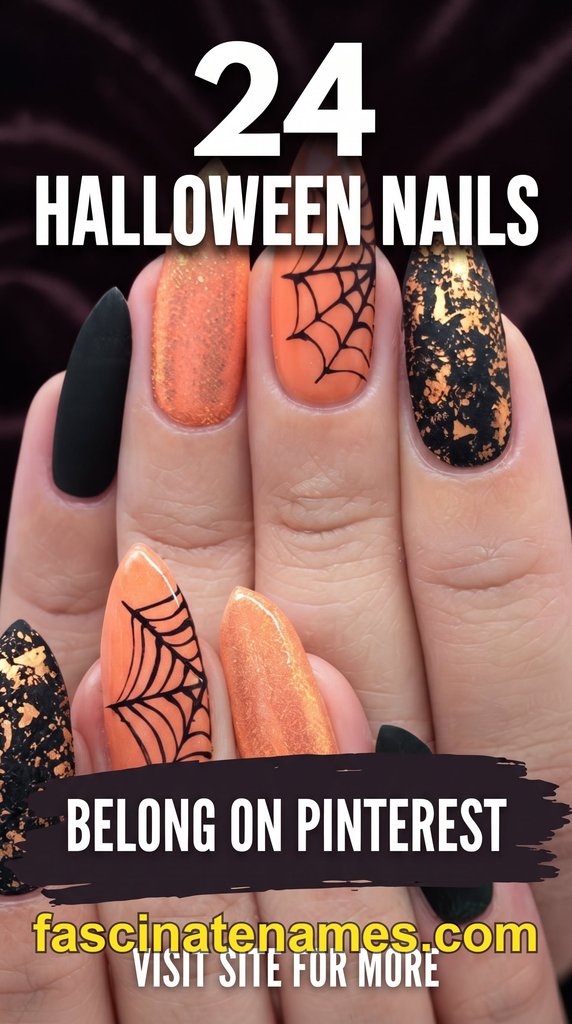
Black and orange is the color pairing everyone recognizes as Halloween, and it remains popular for good reason. It is bold, high contrast, and works on every skin tone. The simplest approach is to paint alternating nails, with black on some fingers and orange on others, then add a single accent nail with stripes, dots, or a tiny pumpkin.
For a more polished take, try a French tip with orange tips over a black base or the reverse. You can also create an ombré that fades from deep black at the cuticle to bright orange at the tip, giving the look of a sunset over a haunted house. Finish with a glossy top coat for a punchy finish or a matte top coat for a modern, velvety feel. Classic black and orange is a safe starting point when you are new to seasonal nail art.
3. Ghost Nail Art: Cute and Creepy Ideas
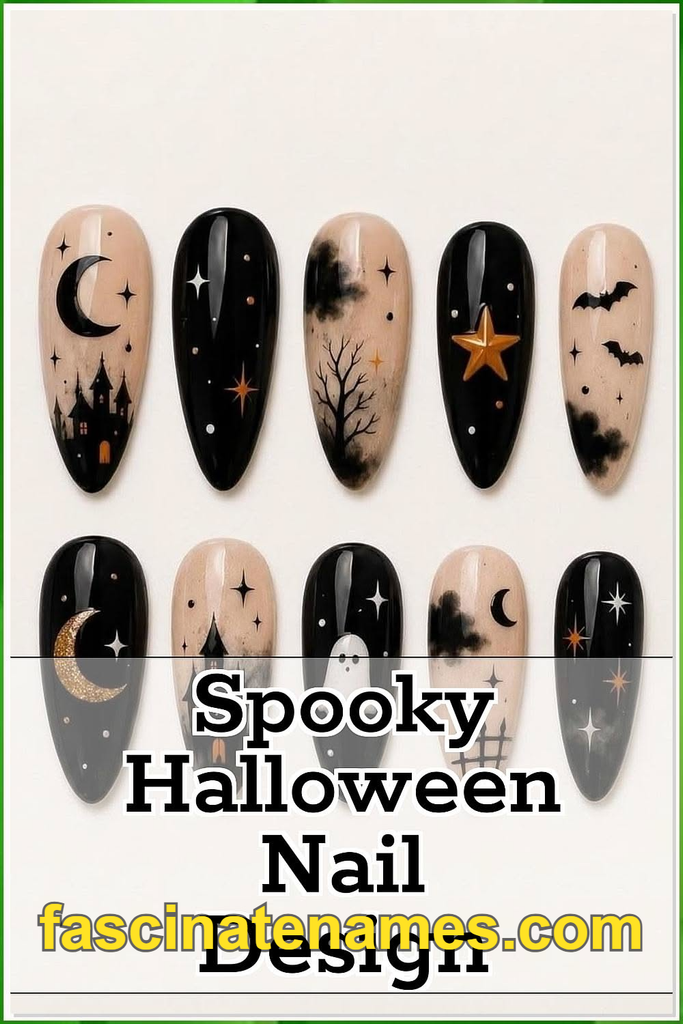
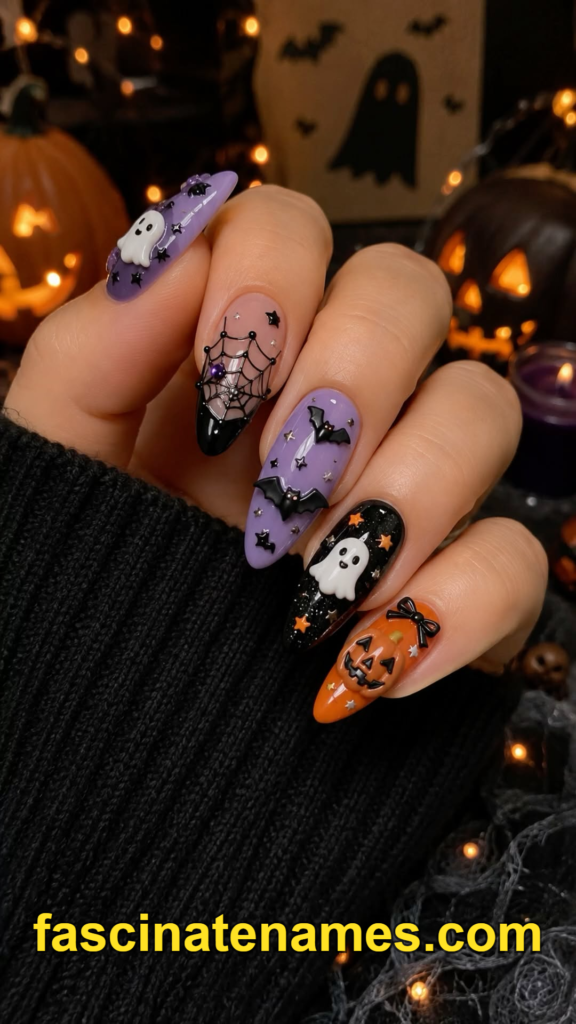
Ghost nails are one of the most searched Halloween nail designs, and they are easy to love. The basic version is a white ghost shape on a dark background, complete with two black dot eyes and a small oval mouth. Against black, navy, or deep purple, the white pops immediately.
If you want something less cute and more eerie, try a ghost that looks like it is peeking out from the cuticle or fading off the tip of the nail. Sheer white gel polish creates a translucent, floating effect that looks convincingly spectral. You can also add tiny glitter specks around the ghost to suggest a shimmering haunted mist. For a playful set, give each ghost a different expression, such as surprised, sleepy, or mischievous. Ghost nails are also beginner friendly because the shape is simple and forgiving.
4. Spider Web Nails for a Sinister Look
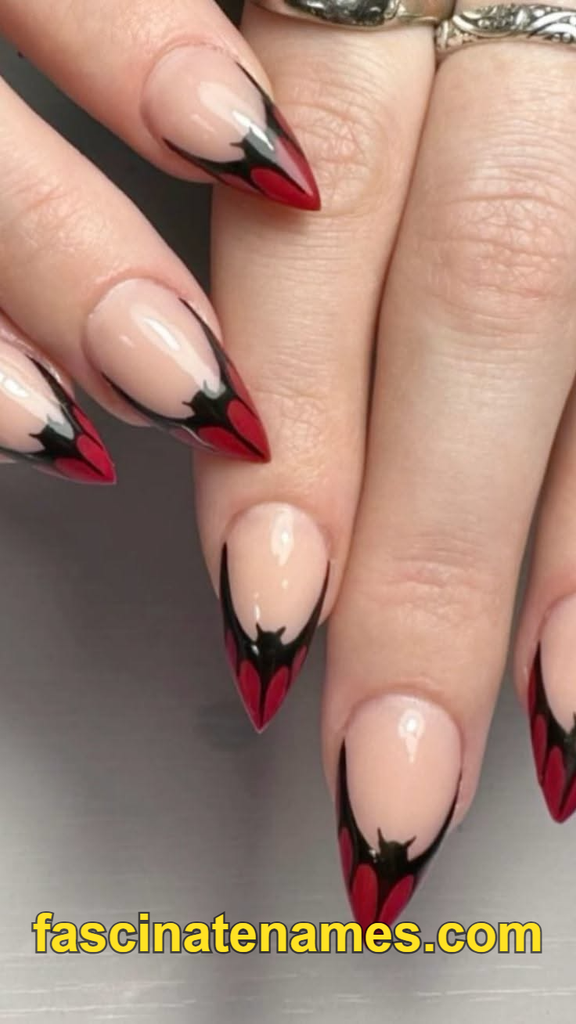
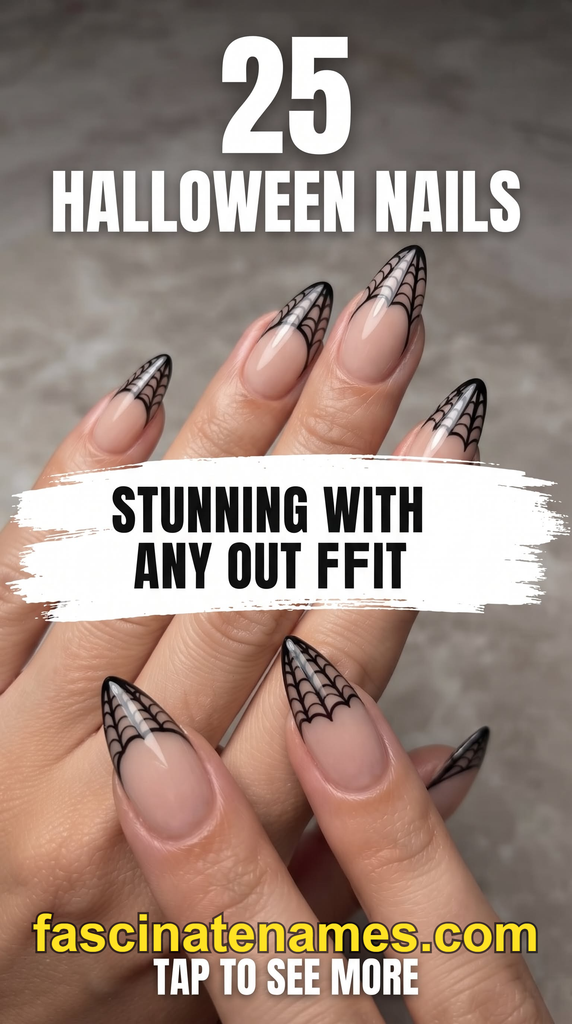
Spider web nails are a timeless choice for anyone who wants an unmistakably spooky manicure. A fine black line brush lets you draw a web by first painting a few lines that radiate from one corner, then connecting them with small curved lines. The web looks best when it is slightly imperfect, since real webs are never symmetrical.
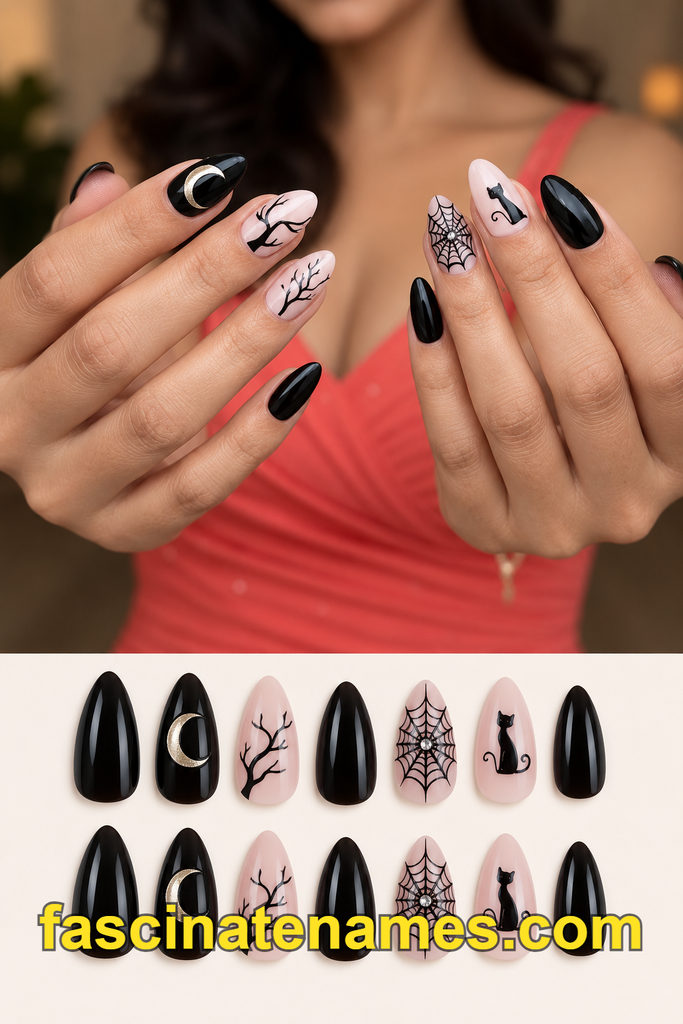
Try a black web on a sheer white, gray, or blood-red base for high contrast. For a subtler effect, use a sheer nude polish and draw a delicate web on just one or two accent nails. Add a tiny spider dangling from a thread or a rhinestone that sits at the center of the web for extra impact. Silver or glitter webs on a black base look especially striking in low light, and they work beautifully with longer nail shapes that give you more canvas.
5. Pumpkin Nail Designs for Fall Vibes
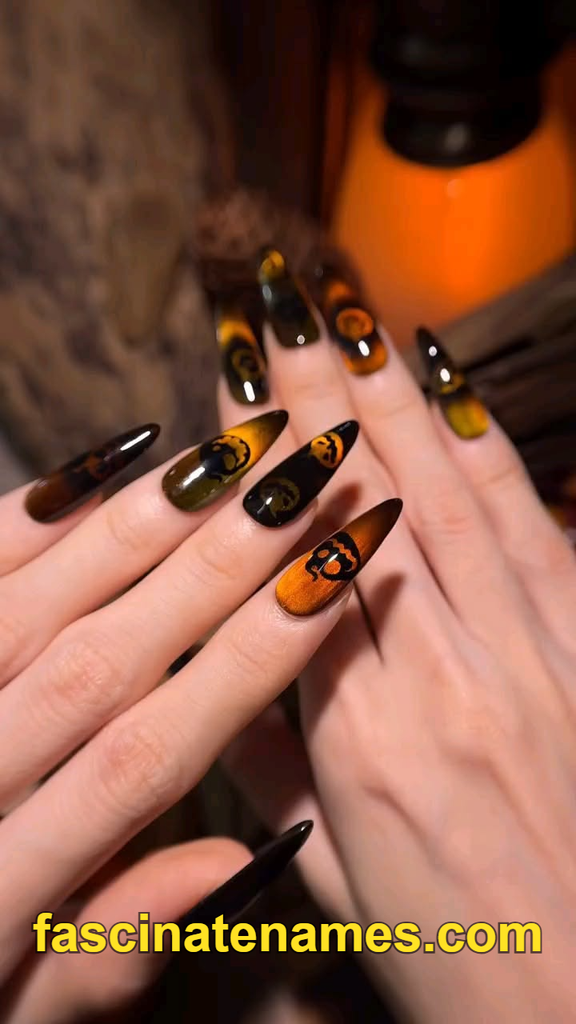
Pumpkin nails bridge the gap between autumn and Halloween, which makes them useful for the whole month of October. A classic jack-o’-lantern nail uses an orange base with a black triangle for the eyes and a jagged smile. If you want something friendlier, skip the face and simply draw curved lines on an orange base to create the ridged look of a real pumpkin, then add a small green stem.
For a modern twist, paint pastel or white pumpkins on a soft neutral base, or use a matte burnt-orange shade with tiny gold foil flakes. Pumpkin nails also pair well with fall accents like mustard yellow, olive green, and deep burgundy. If you want to keep things wearable at work, use a single pumpkin accent nail and keep the rest in a warm neutral. This gives you a festive touch without going full costume.
6. Skeleton and Bone Nail Art
Skeleton nails are graphic, striking, and surprisingly versatile. The most common version paints white bones across a black base so that each nail looks like an X-ray of a skeletal hand. You can draw simple lines for finger bones, or use a thin brush to add more detailed knuckle joints.
Another popular idea is the skeleton hand across all ten nails. Each nail is painted with a single bone segment, and when you hold your hand out flat, the full skeleton pattern appears. For a smaller commitment, paint a tiny skull on one accent nail or add crossbones to the tips. Matte black bases make the white artwork stand out sharply. If you want something softer, try bones in pale gray on a deep charcoal base for a moody, vintage horror effect.
7. Blood Drip Nails for Horror Fans
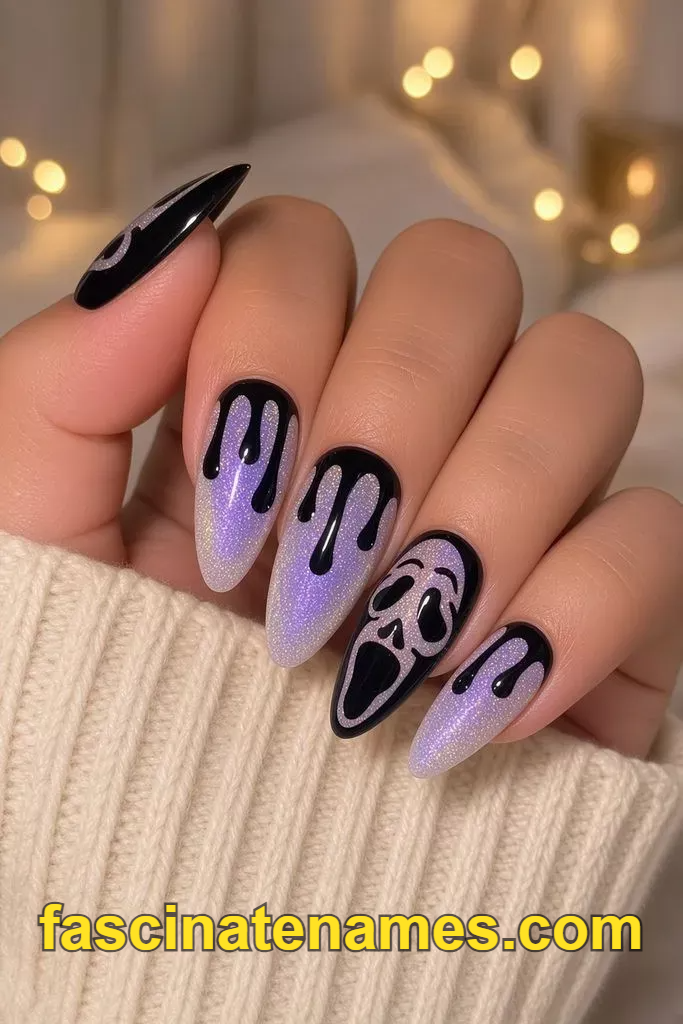
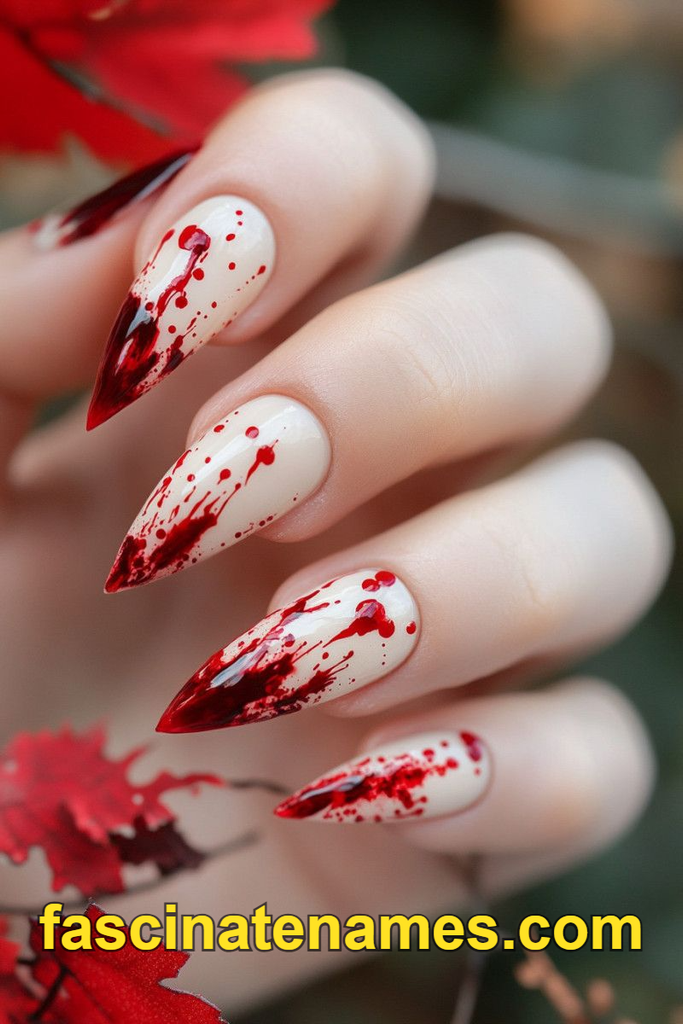
Blood drip nails are a favorite with horror fans, and they are easier than they look. Start with a clear, white, or black base, then use a deep red polish to paint a wavy line along the cuticle or the tip. From that line, pull down a few uneven drips of different lengths with a fine brush. The variation in length is what makes the design look realistic.
To create depth, add a tiny dot of glossy top coat at the end of each drip so it looks wet. You can also layer a darker red over a brighter one for a more dimensional effect. Blood drip nails look great on stiletto and coffin shapes because the drips have room to run. For a playful twist, pair the drips with a white base to make each nail look like a bloody knife-scratch scene straight out of a slasher movie.
8. Witchy Nails: Moons, Stars, and Cauldrons
Witchy nails lean into mystical, moody imagery instead of gore. Think crescent moons, tiny stars, potion bottles, cauldrons, and eyes surrounded by rays of light. A deep purple, midnight blue, or emerald green base sets the tone, while gold or silver foil adds a magical shimmer.
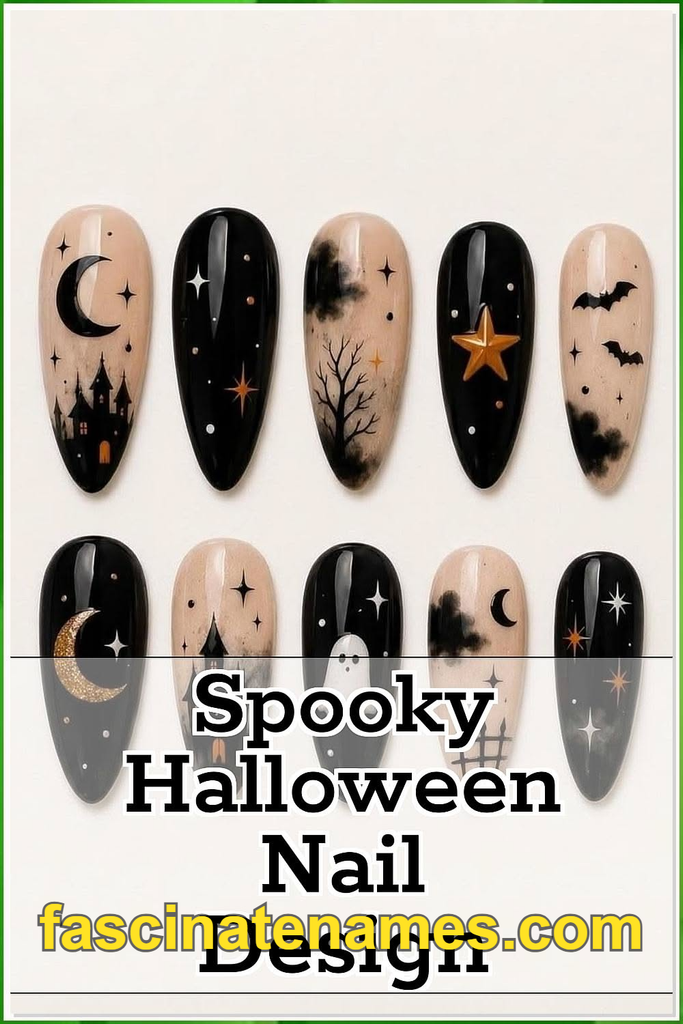
One of the most popular witchy looks is a set of moon phases across all five nails on one hand, paired with a simple starry design on the other. Another idea is a witch hat accent nail with a black hat shape, purple band, and a little gold buckle. If you like a softer take, choose a smoky lavender base and add celestial line art in metallic ink. Witchy nails are ideal if you want a Halloween manicure that feels elegant enough to keep wearing after the holiday is over.
9. Bat Nail Designs That Take Flight
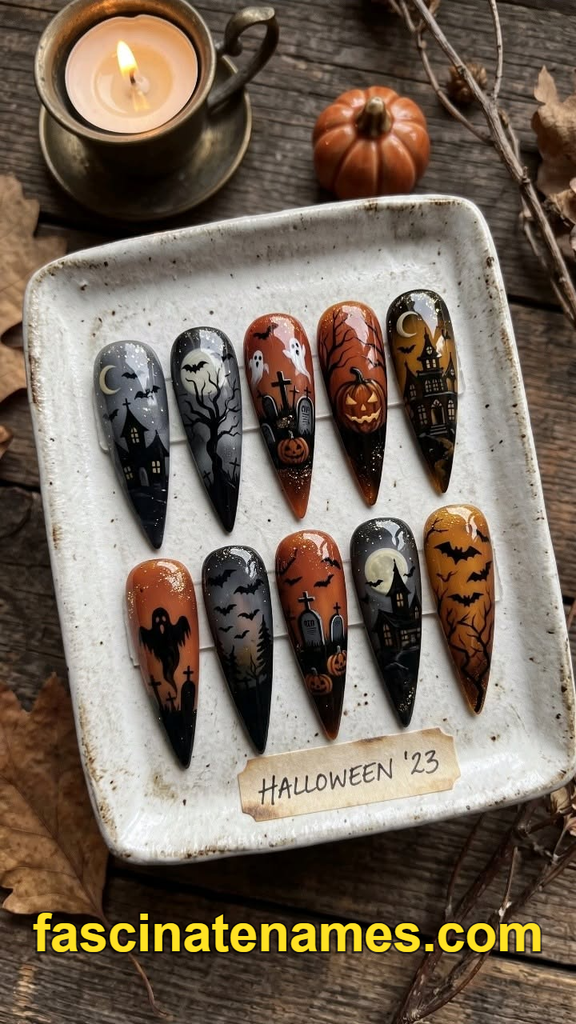
Bats are a simple, recognizable Halloween symbol that suits nearly any nail length. A black bat silhouette against a pale orange, gray, or purple sunset gradient is a classic. You can paint one large bat on an accent nail or a small flock of bats flying across several nails.
For a more detailed version, paint the wing edges with a scalloped shape, which gives the bat its characteristic outline. Add a tiny pair of glowing eyes in yellow or red for a creepy detail. If you prefer a subtle design, use bat-shaped nail stickers or decals on a matte black base, which saves time and looks clean. Bats also look great with a moon in the background. A full moon painted in soft white or pale yellow behind a flying bat creates a scene that tells a story on a tiny canvas.
10. Glow-in-the-Dark Halloween Nails
Glow-in-the-dark polish adds a surprise element that makes your manicure feel like a real Halloween effect. In daylight, the polish looks like a pale green, white, or light yellow. In the dark, it releases a soft glow that lasts several minutes after being charged by light.
You can use glow polish for the whole nail or only for details such as ghost bodies, skeleton bones, eyes, or spiderweb lines. Pairing it with a black base gives the best contrast, because the glow appears strongest against a dark background. For the best results, apply two or three thin coats, since glow pigments tend to be less opaque than regular polish. Seal the design with a clear top coat, but keep in mind that thicker top coats can slightly dim the glow. It is a perfect option for parties, trick-or-treating, and night events.
11. Chrome and Glitter Halloween Manicures
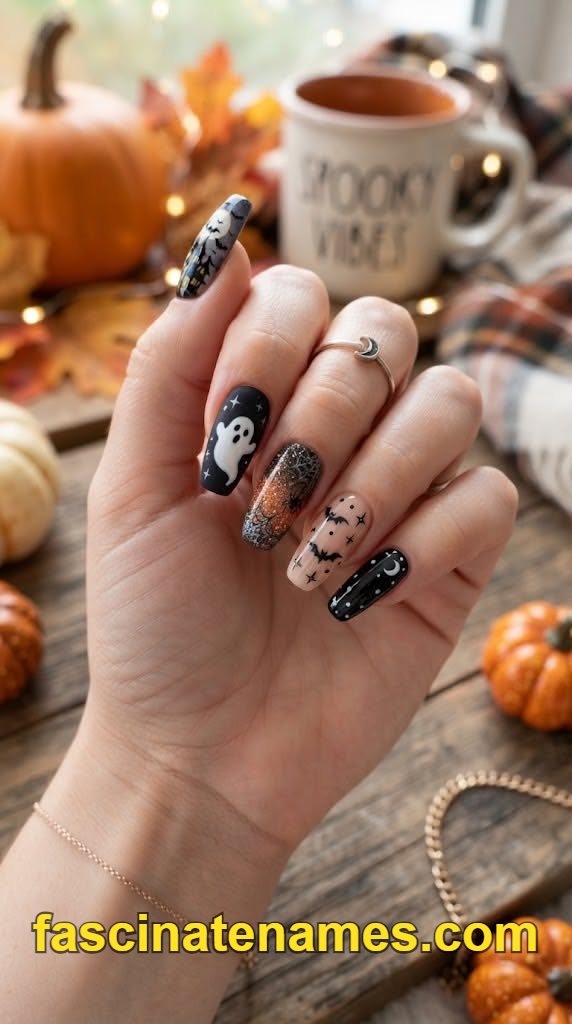
If you love shine, chrome and glitter add glamour to spooky nail designs. Black chrome creates a mirror-like finish that looks like polished obsidian, while purple or green chrome gives an otherworldly shimmer that suits witchy and alien themes. A metallic orange chrome over a black base can look like glowing embers.
Glitter works well as a gradient at the tips or as a full-coverage accent nail. Orange, black, silver, and deep purple glitter are the most popular Halloween choices. For a cobweb effect, layer silver glitter under a sheer black polish, then draw a web on top. Chrome powder is usually applied over a gel base and cured, so it is best done with a gel manicure. Keep the rest of the design simple, since chrome and glitter already draw plenty of attention.
12. Subtle and Minimalist Halloween Nails
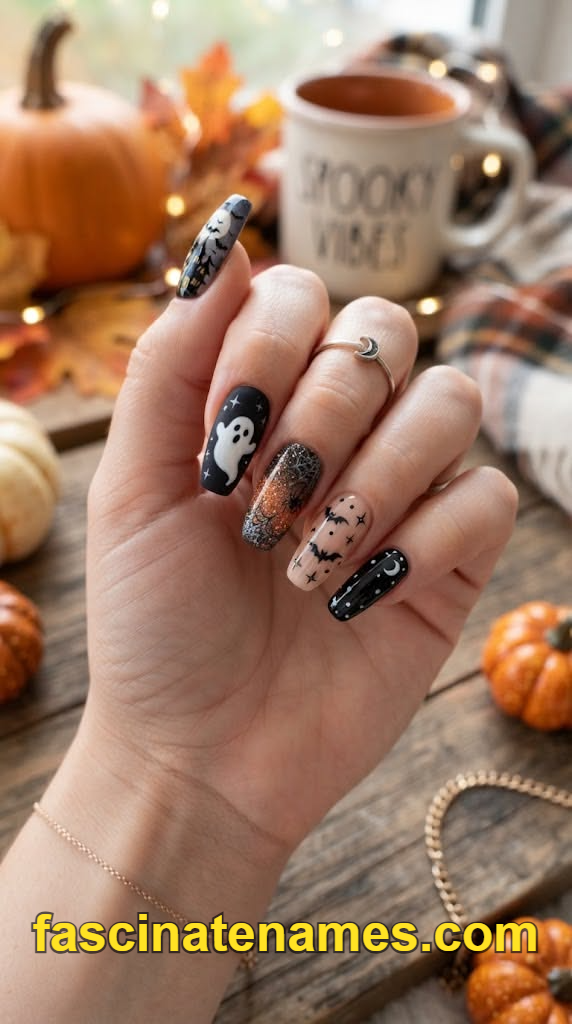
Not everyone wants full-blown nail art, and that is perfectly fine. Minimalist Halloween nails let you nod to the season in a way that feels understated. Try a dark oxblood, plum, forest green, or charcoal polish, which all feel spooky without any drawings.
Another option is a neutral base with a single small icon, such as a tiny moon, a ghost, or a thin black web line at the corner of the nail. You can also do a negative-space design, where parts of the natural nail stay bare and are framed by a simple black shape. Minimalist looks are especially popular for workplaces with dress codes, and they tend to grow out more gracefully. They also give you a perfect base to add a single dramatic accent for Halloween night itself.
13. Best Halloween Nail Colors and Polish Shades
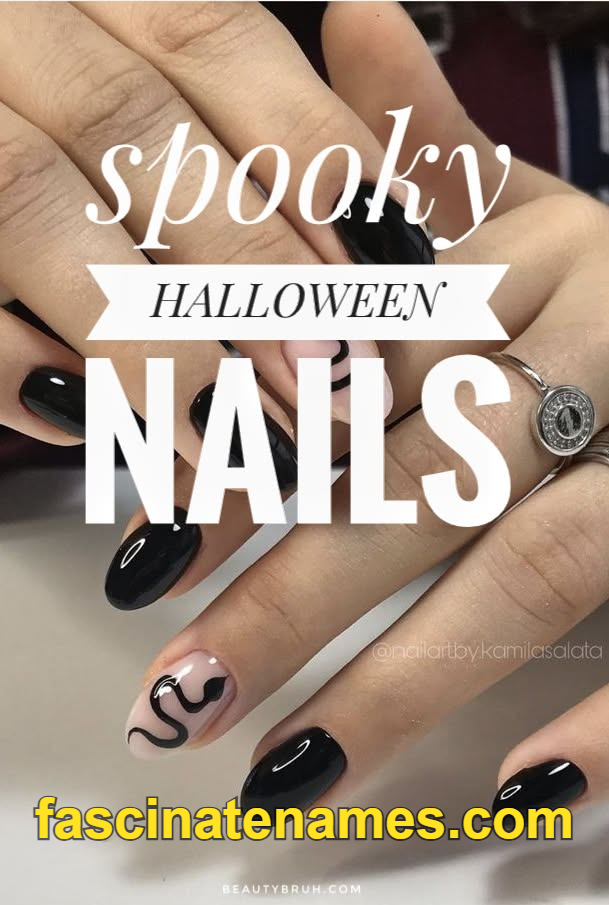
Choosing the right palette is half the fun. Traditional Halloween colors include black, orange, white, and purple, but the season also welcomes deeper, moodier shades. Consider blood red, burgundy, forest green, midnight blue, slate gray, and toxic lime green.
For fair skin, deep plum and oxblood look striking without feeling harsh. On medium and olive skin tones, burnt orange, emerald, and bronze are especially flattering. Deeper skin tones glow with bright orange, lime, electric purple, and metallic gold. Pastel Halloween shades, such as lilac, mint, and soft peach, are also trending for a cute, “pastel goth” appearance. When in doubt, choose one main color and one accent, then use black or white for the details. Limiting your palette keeps the design cohesive and prevents the manicure from feeling cluttered.
14. Halloween Nail Shapes and Lengths
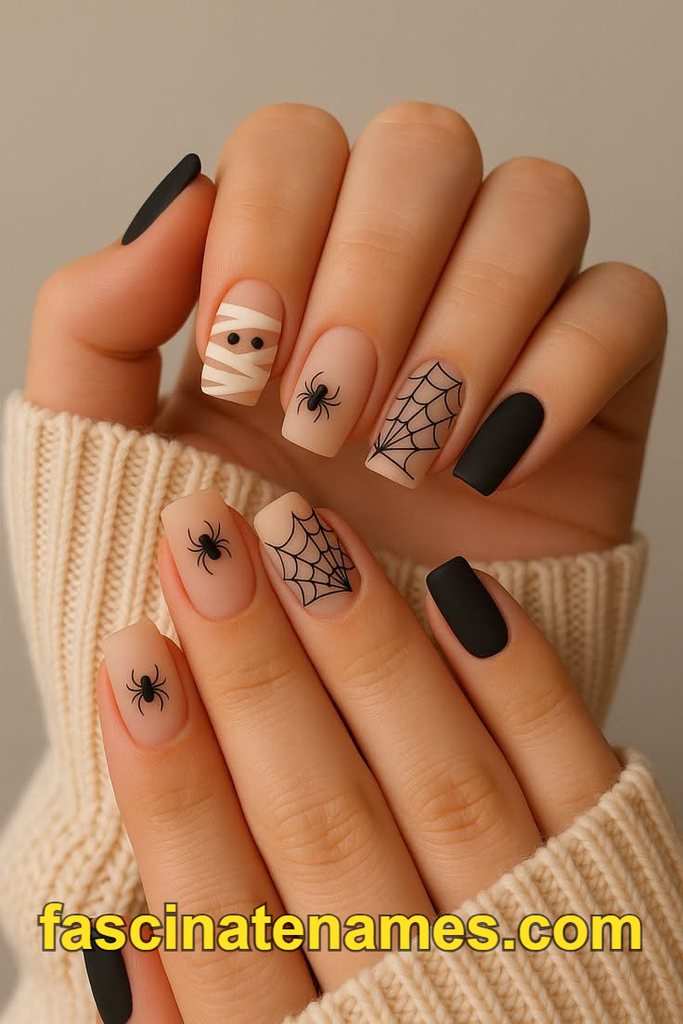
The shape of your nails changes how a design looks. Coffin and stiletto shapes are popular for dramatic designs because they offer long, narrow canvases for blood drips, webs, and claws. Almond nails feel elegant and work well with witchy and celestial art. Square and squoval shapes are practical for everyday wear, and they hold up nicely for pumpkin and ghost designs.
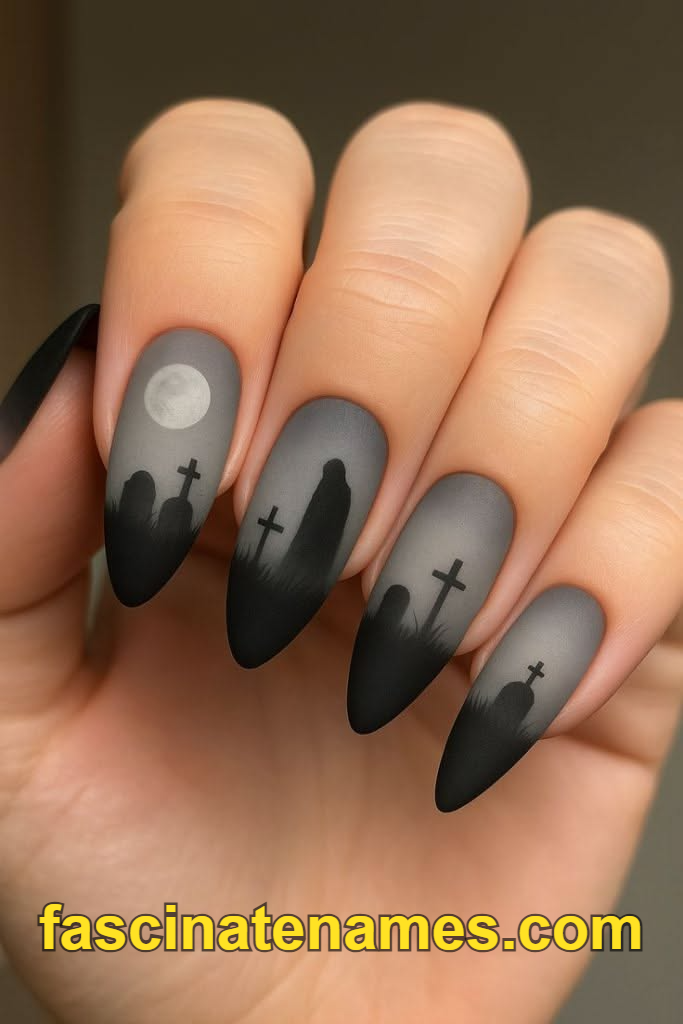
Short nails can still look spooky. Keep the artwork simple and place it where it will have the most impact, such as a single ghost, a small web, or an alternating color pattern. Long nails give more room for storytelling, like a full graveyard scene or a skeleton hand across all ten fingers. Choose a length you can comfortably use for typing, cooking, and daily tasks, because comfort matters as much as style.
15. Easy DIY Halloween Nails for Beginners
You do not need professional skills to create fun Halloween nails at home. Start with a clean, dry, shaped nail and apply a base coat. Choose a simple design, such as polka dots, stripes, or a half-moon, and use a dotting tool or the end of a bobby pin to create clean circles.
A great beginner trick is to use a toothpick dipped in polish to draw fine lines and small shapes. Nail stickers and decals are another easy option, since they need no drawing at all. Work in thin layers and let each color dry before adding details, which prevents smudging. If you make a mistake, dip a small brush in acetone and clean the edges. Practice on a piece of paper or a nail practice sheet first. With a little patience, you can create a design that looks surprisingly professional.
16. Tools and Supplies You Need
A few basic tools go a long way. A fine detail brush is essential for webs, drips, and small drawings, while a dotting tool helps you create eyes, pumpkins, and polka dots. Striping tape or nail art tape gives you clean straight lines and sharp geometric edges.
You will also want a good base coat, a quality top coat, and a small palette to hold your polish. A bottle of acetone with cotton swabs is ideal for cleanup. If you use gel polish, invest in an LED lamp and a gel-safe cleanser. For extra sparkle, keep a small collection of rhinestones, foils, and glitter, plus a pair of tweezers to place them precisely. Nail stamping plates are also fun, offering ready-made Halloween patterns you can transfer with a stamper. Store your tools in a small box so they are ready whenever inspiration strikes.
17. Gel, Acrylic, or Press-On: Which Is Best?
The right nail type depends on your budget, schedule, and comfort level. Regular polish is the cheapest and easiest to change, but it chips faster and needs more drying time. Gel polish lasts up to two or three weeks, dries instantly under a lamp, and holds detailed art beautifully. Acrylic and builder gel extensions add length and strength, which is ideal for dramatic shapes like stilettos and coffins.
Press-on nails are a popular choice for Halloween because you can apply them in minutes, choose from ready-made spooky designs, and remove them without salon visits. They are also perfect if you only want the look for one night. Custom press-ons can be painted ahead of time, so you have a full set ready to wear. Consider how long you want the manicure to last, and choose the option that fits your lifestyle.
18. How to Make Your Halloween Nails Last
Good preparation is the secret to a long-lasting manicure. Start by gently pushing back your cuticles, buffing away shine, and wiping the nail with alcohol to remove oils. Apply a thin base coat, then build your color in two thin coats rather than one thick coat.
Seal the free edge of the nail by running your brush along the tip, which helps prevent chipping. Finish with a quality top coat and reapply a thin layer every few days if you use regular polish. Wear gloves when washing dishes or cleaning, and avoid using your nails as tools to open cans or scrape labels. Apply cuticle oil daily to keep the skin around your nails healthy and flexible. If a nail chips, touch it up quickly before the damage spreads.
19. Nail Care Before and After Halloween
Healthy nails make every design look better, so treat them well before and after the holiday. Before your manicure, moisturize your hands and use a nourishing cuticle oil for a few days. Keep your nails filed to a smooth shape to avoid snags.
When it is time to remove your Halloween design, do it gently. Soak gel polish or glitter with acetone-soaked cotton and foil rather than scraping it off, since scraping can peel layers from the natural nail. After removal, give your nails a break for a few days, apply a strengthening treatment, and keep moisturizing. Nail oils with jojoba or vitamin E are excellent for restoring flexibility. Taking a short rest between manicures helps your nails recover so they are ready for the next seasonal design.
20. Frequently Asked Questions About Spooky Halloween Nails
When should I get my Halloween nails done? Most people book one to two weeks before Halloween, which keeps the design fresh for the big day. If you love the look, start at the beginning of October.
Can I wear spooky nails to work? Yes. Choose minimalist designs such as dark burgundy, plum, or a single small accent nail.
How much do Halloween nails cost? Prices vary widely, from a few dollars for stickers and press-ons to a higher salon price for detailed hand-painted art.
What if I can’t draw? Use decals, stamping plates, or press-ons, and let the tools do the work.
Spooky Halloween nails are all about having fun, so pick the design that makes you smile, whether it is a tiny ghost, a dripping blood tip, or a glowing web. Try one idea from this list and enjoy the season.