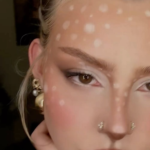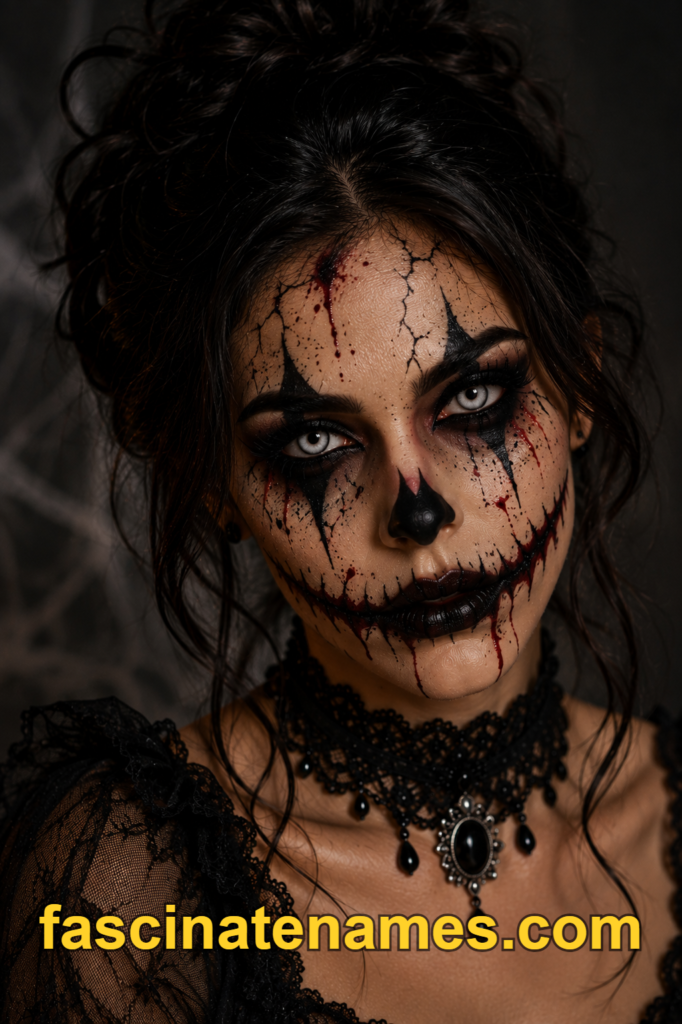
Halloween is the one night of the year when makeup gets to be as bold, weird, and imaginative as you want it to be. “Cool” Halloween makeup covers a huge range of styles — sleek and edgy, otherworldly and glowing, minimal yet striking, or dramatically artistic. Unlike traditional scary makeup, cool Halloween looks are less about fear and more about visual impact, creativity, and showing off genuine makeup skill. This guide covers everything you need to plan, prep, and execute a Halloween makeup look that turns heads for all the right reasons.
What Makes Halloween Makeup “Cool” Instead of Just Scary
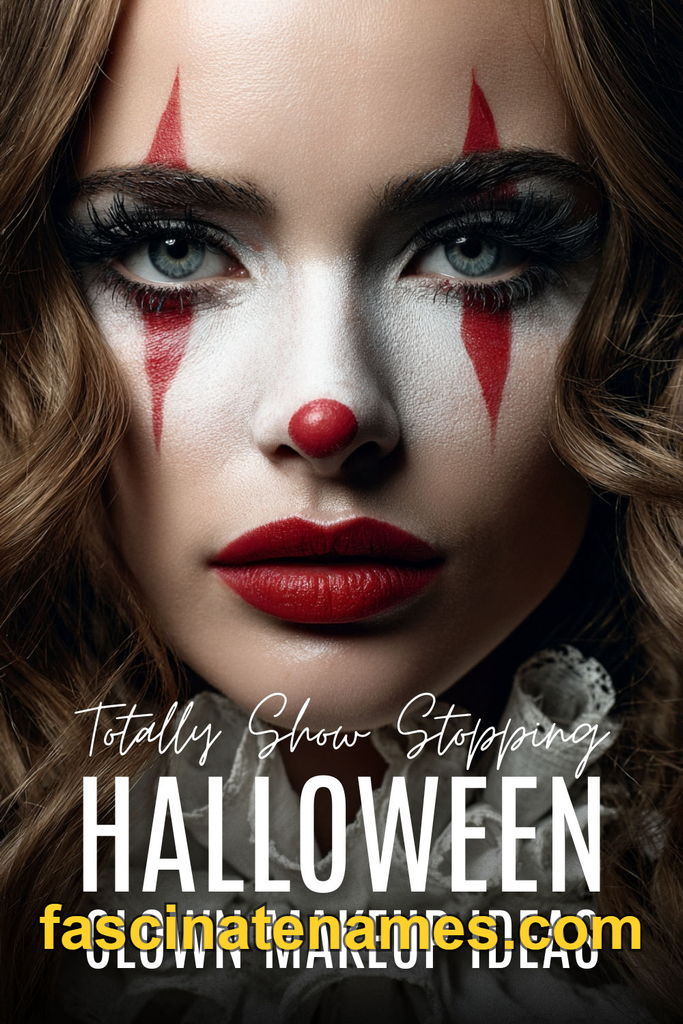
Not every great Halloween look needs blood, scars, or gore. Cool Halloween makeup leans into aesthetics: bold color, striking symmetry, metallics, glow effects, and artistic techniques borrowed from editorial and runway makeup. Think galaxy-inspired skin, geometric face art, holographic accents, or a stylized skeleton with rhinestones instead of realistic decay. The goal is to impress rather than terrify — a look people want to photograph, not flinch away from.
Popular Categories of Cool Halloween Makeup
Before diving into techniques, it helps to know the broad categories most cool Halloween looks fall into.
- Cosmic and celestial — galaxies, stars, moons, and metallic skin
- Animal-inspired — butterflies, tigers, snakes, and other creatures rendered in bold color
- Geometric and abstract — sharp lines, color blocking, and graphic shapes
- Glow and UV-reactive — neon pigments that pop under blacklight
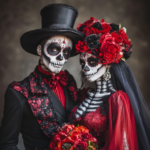
- Elegant skeleton or sugar-skull inspired — stylized rather than gory
- Fantasy creatures — fairies, mermaids, elves, and similar ethereal looks
Choosing a category first will help you narrow down products, colors, and techniques before you start applying anything.
Essential Products for a Cool Halloween Look
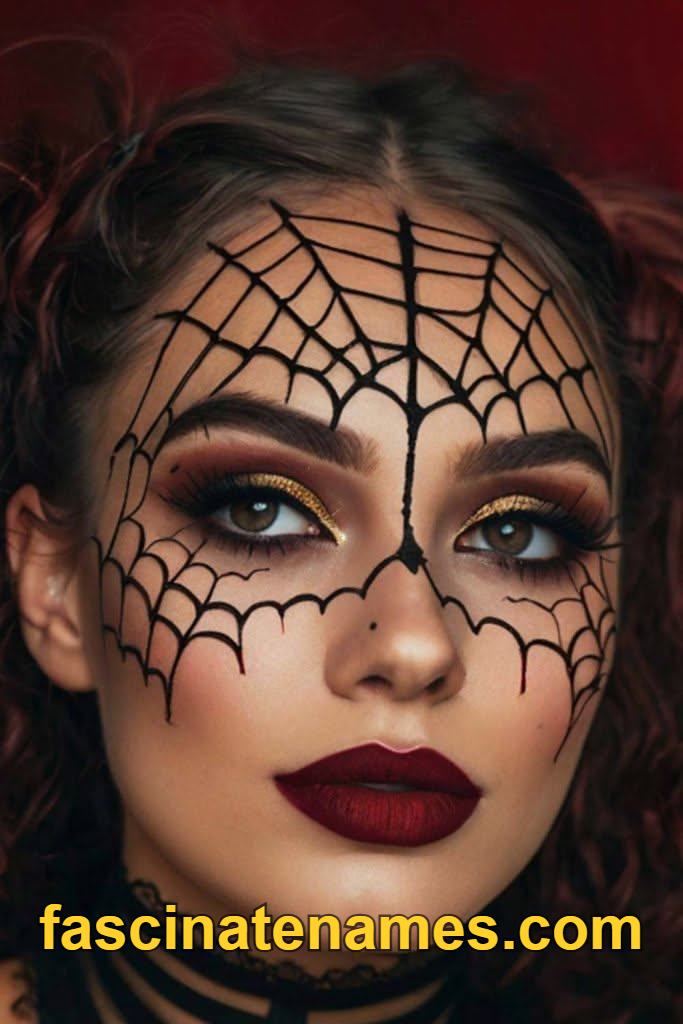
A polished, professional-looking Halloween makeup look depends heavily on having the right product lineup.
- A full-coverage face and body paint or cream foundation in your chosen base shade
- A wide range of eyeshadow pigments, including bold and metallic shades
- Face paint palettes with vibrant primary and secondary colors
- Rhinestones, gems, and body adhesive for embellishment
- Liquid eyeliner and fine-detail brushes for precise linework
- Metallic and holographic pigments or chrome powders
- Setting spray and setting powder to lock everything in place
- False lashes, including colorful or dramatic styles
- UV-reactive paint if you’re going for a glow-in-blacklight effect
Tools That Make a Big Difference
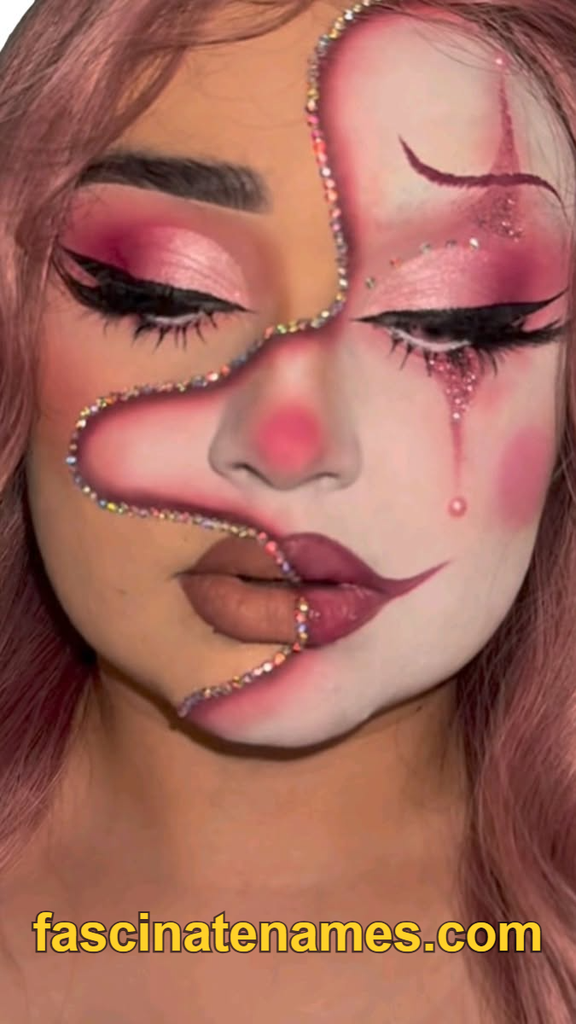
The right tools can be the difference between a muddy, amateur-looking design and a crisp, professional one.
- Fine-tip brushes (000, 00, and 0 sizes) for linework and detail
- Angled brushes for sharp geometric shapes
- A stippling brush or sponge for seamless blending
- Tweezers for precise gem placement
- A small water spray bottle if using activated face paints
- A large mirror with strong, even lighting so colors read accurately
Prepping Your Skin for Long-Wear Color
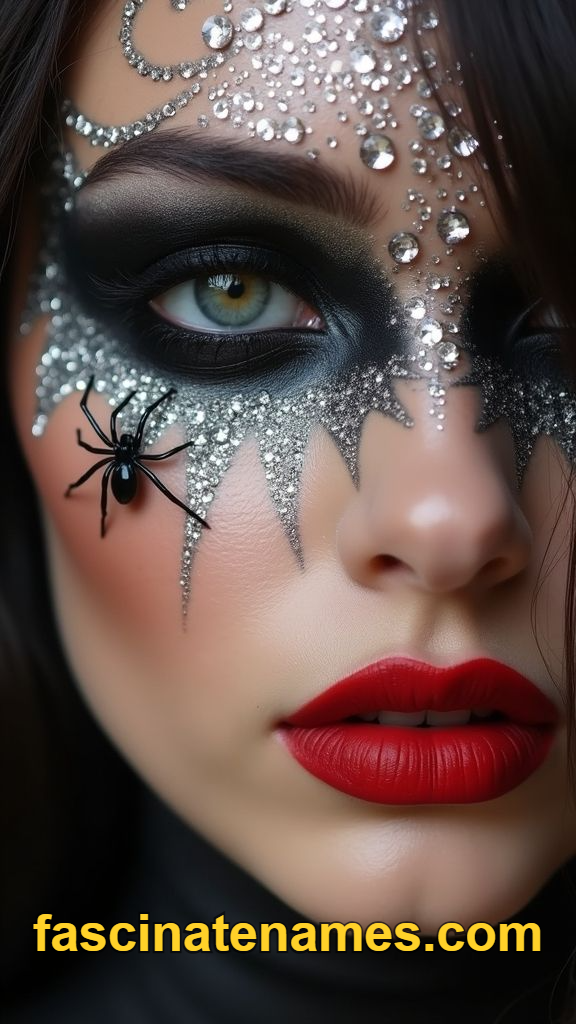
Bold, pigmented looks require a clean, well-prepped canvas to look their best. Cleanse and moisturize your skin at least 20 minutes before starting, allowing the moisturizer to fully absorb. Apply a lightweight primer to help colors adhere evenly and last longer. If you’re using face paint over a large area, a specialized face-paint primer will prevent patchiness and help the color stay vibrant rather than sinking into fine lines or drying skin throughout the night.
Step-by-Step: Cosmic Galaxy Makeup
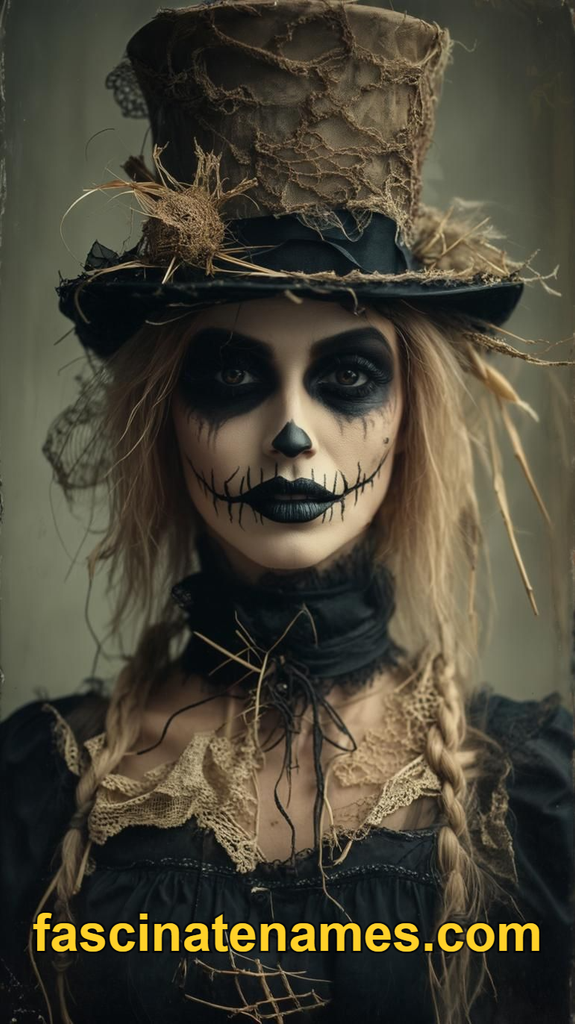
This look is one of the most popular “cool” Halloween styles because it’s dramatic, colorful, and doesn’t require a full-face costume to feel complete.
- Apply a dark base — deep blue, purple, or black — across the eyelids, cheekbones, or wherever you want the “galaxy” to appear.
- Blend in patches of lighter blue and purple eyeshadow to build depth and dimension, like clouds of cosmic dust.
- Add small dots of white and silver using a fine brush to mimic distant stars, clustering some areas more densely than others.
- Create a few larger “stars” with a five-point shape using white eyeliner or paint.
- Add subtle pink and teal highlights in the same blended, cloud-like style for a nebula effect.
- Apply loose holographic glitter sparingly over the design for extra shimmer.
- Extend the design down the cheekbone, temple, or shoulder for a more dramatic, editorial finish.
- Set everything with a fine-mist setting spray to prevent glitter fallout.
Step-by-Step: Geometric Line Art Makeup
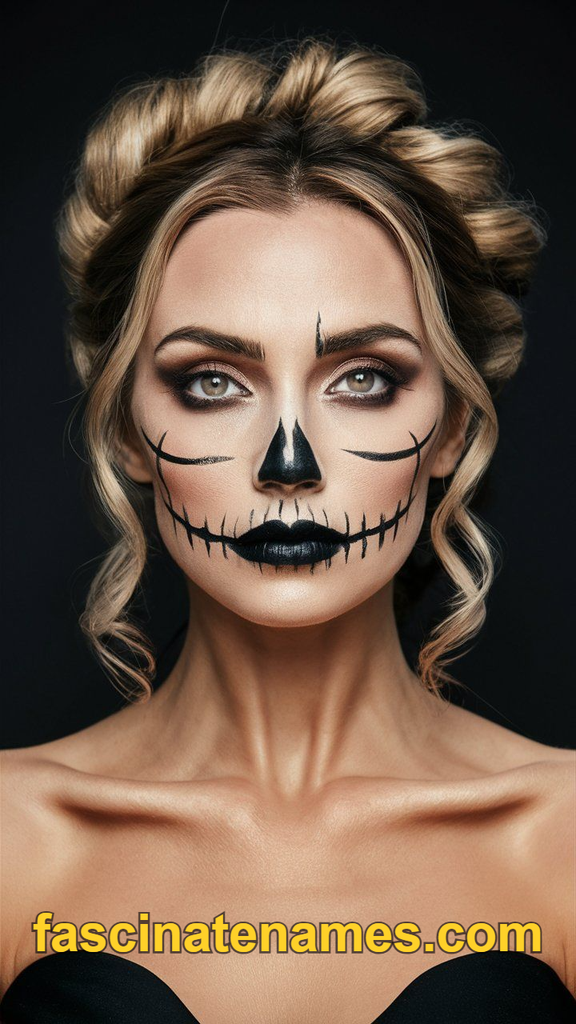
This modern, editorial-inspired look uses sharp lines and negative space rather than heavy color for a striking, minimalist effect.
- Choose a focal color palette — black and gold, or two contrasting bold colors work well.
- Sketch your design lightly with an eyeliner pencil before committing to paint, mapping out triangles, lines, or fractured shapes across the face.
- Fill in shapes with liquid liner or face paint, using an angled brush for crisp, straight edges.
- Leave strategic negative space — bare skin between shapes is what makes this style feel graphic rather than cluttered.
- Add a metallic or gem accent at key intersections of the design for extra polish.
- Clean up any uneven edges with a small amount of concealer on a fine brush.
- Set with translucent powder to keep lines crisp throughout the night.
Step-by-Step: Stylized Elegant Skeleton
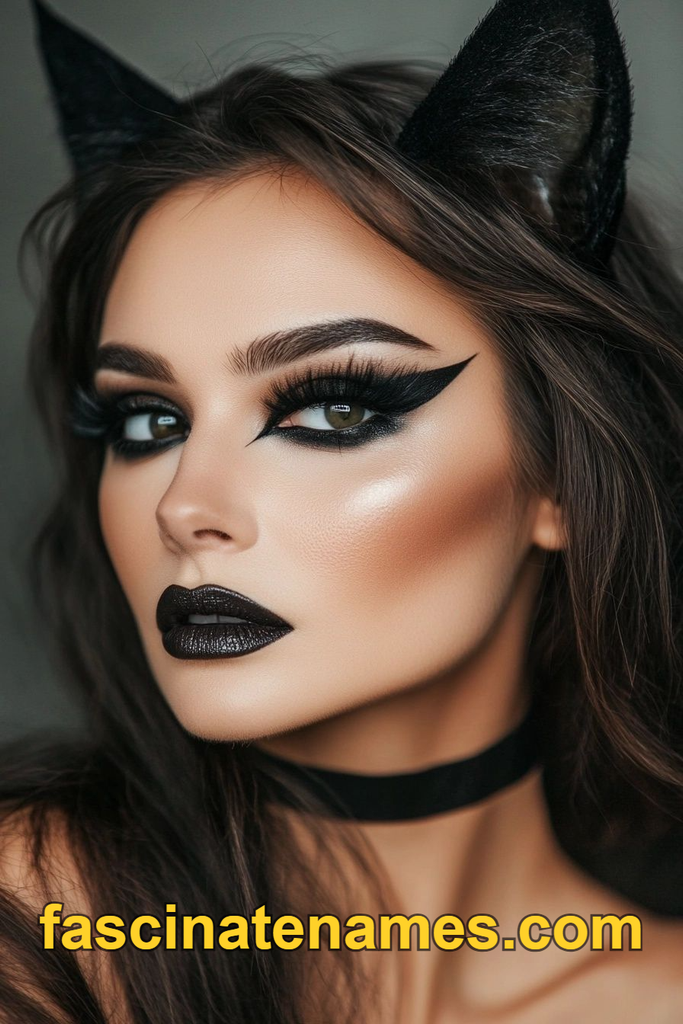
A far cry from gory horror makeup, this version of skeleton makeup is refined, artistic, and genuinely beautiful.
- Apply a white or light grey base across the entire face for a porcelain-like canvas.
- Contour the natural hollows of the face — cheekbones, temples, under the brow bone — using a soft grey or black cream color to mimic bone structure without looking heavy-handed.
- Define the nose with two elongated black or grey shapes to suggest a nasal cavity, keeping the edges soft rather than harsh.
- Outline the lips in black or deep grey, and consider adding fine vertical “stitch” lines for a decorative touch.
- Add delicate black linework along the cheekbones and forehead, incorporating floral or lace-like patterns for an elegant, sugar-skull-inspired finish.
- Apply rhinestones along key linework for shimmer and dimension.
- Finish with dramatic lashes and a soft smoky eye in black or deep purple.
Working With Metallics and Chrome Effects
Metallic finishes instantly elevate a Halloween look from flat to eye-catching. Chrome pigments, applied with a damp brush or sponge, create a liquid-metal effect that photographs beautifully. Gold and copper tones pair well with warm looks like phoenixes or sun-inspired designs, while silver and holographic chrome suit cosmic, icy, or futuristic themes. Always apply metallic pigment over a tacky base (like a cream shadow or specialized mixing medium) rather than directly on bare skin, since this helps the pigment grip and intensifies the color payoff significantly.
Using Glow and UV-Reactive Makeup
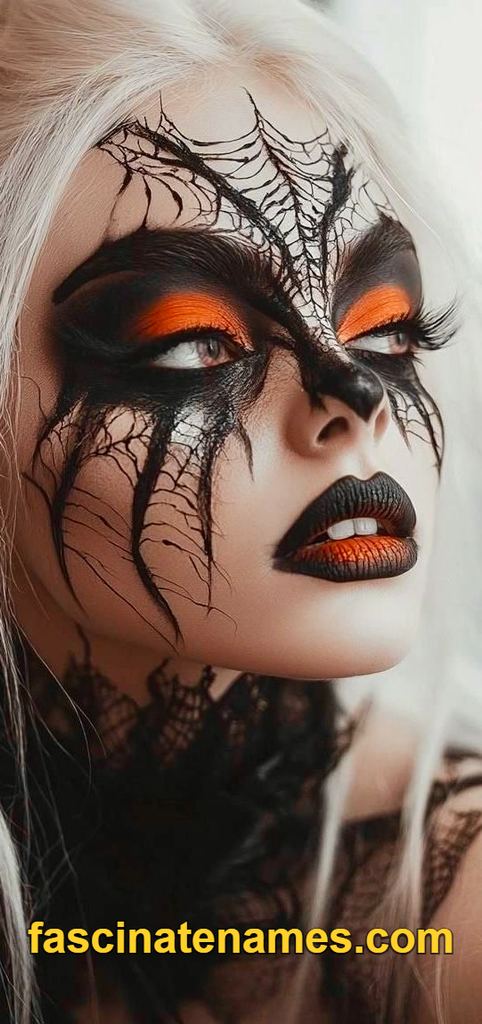
If you’re heading to a Halloween party with blacklights, UV-reactive makeup can make your look genuinely showstopping. Neon face paints and UV pigments appear ordinary in regular light but glow vividly under blacklight, creating a completely different visual effect once the lighting changes. Popular choices include neon green, hot pink, electric blue, and bright yellow, often used for cosmic designs, alien-inspired looks, or abstract patterns. Test your UV products under actual blacklight before the event if possible, since glow intensity can vary significantly between brands.
Color Placement and Facial Symmetry
Where you place color matters just as much as which colors you choose. Symmetrical designs — mirrored patterns on both sides of the face — tend to read as more polished and intentional, which suits editorial or cosmic looks. Asymmetrical designs, where one side of the face differs from the other, create a more artistic, avant-garde feeling and work well for abstract or fantasy-inspired makeup. Using the natural contours of your face (cheekbones, brow bone, temples) as guides for placement will make any design look more cohesive rather than randomly applied.
Incorporating Gems, Rhinestones, and Embellishments
Small embellishments can make a huge visual difference without requiring advanced painting skills. Use specialized body-safe adhesive (never craft glue) to apply rhinestones along the brow bone, cheekbones, or in place of freckles for a fairy or fantasy look. Cluster small gems for a delicate, scattered effect, or align them in precise rows along linework for a more structured, geometric feel. Removing them at the end of the night is easy with a bit of oil-based makeup remover, which dissolves the adhesive without tugging on skin.
Hair and Accessories to Complement Your Look
Cool Halloween makeup often pairs beautifully with equally bold hair choices. Temporary colored hairspray, glitter roots, or braided-in tinsel can complement a cosmic or fantasy look without the commitment of permanent color. For geometric or editorial looks, sleek, slicked-back hair often photographs better than loose waves, since it keeps focus on the facial design. Headpieces, horns, ears, or antennae make excellent finishing touches for fantasy or animal-inspired themes, tying the whole costume together.
Photographing Your Halloween Makeup
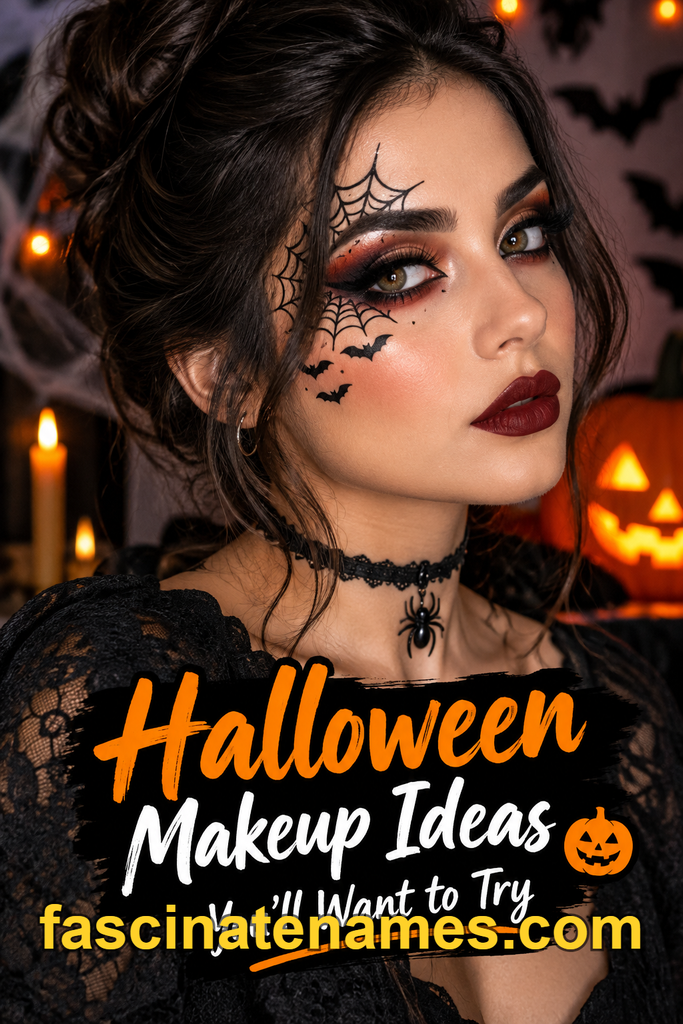
If you’re putting significant effort into a detailed design, good photos are worth planning for. Natural, diffused light brings out true color far better than harsh overhead lighting, which can wash out fine detail. Metallic and glitter elements photograph best with a slight side light that catches the shimmer rather than flat, front-facing light. Taking a few close-up shots in addition to full-face photos helps capture intricate linework or gem placement that might get lost in a wider shot.
Common Mistakes That Ruin Cool Makeup Looks
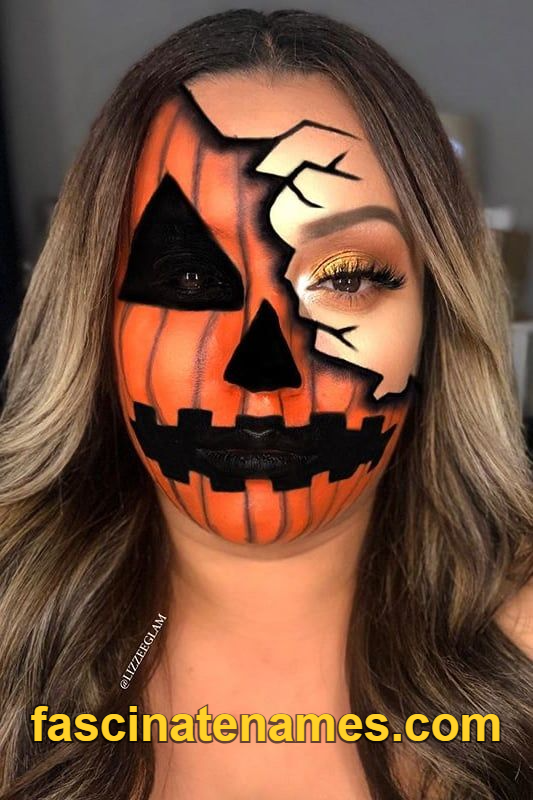
Even well-planned looks can fall flat due to a few avoidable errors.
- Overcrowding the design with too many colors or elements, which muddies the overall effect
- Skipping a light sketch before committing to paint, leading to uneven or lopsided designs
- Applying glitter directly without a tacky base, causing it to fall off within an hour
- Ignoring skin prep, which causes cracking or patchiness in bold color areas
- Rushing fine linework, which is one of the hardest elements to fix once dry
Adapting These Looks for Different Skill Levels
Not everyone wants to spend two hours on Halloween makeup, and that’s completely fine — most of these looks can be simplified. A cosmic look can be scaled down to just an eye design rather than a full face. Geometric line art can be reduced to a single accent line along the cheekbone rather than a full pattern. Even a simplified, five-minute version of a “cool” look — a bit of chrome pigment on the lids, some rhinestones at the temple — can look intentional and striking with the right placement.
How to Make Bold Halloween Makeup Last All Night
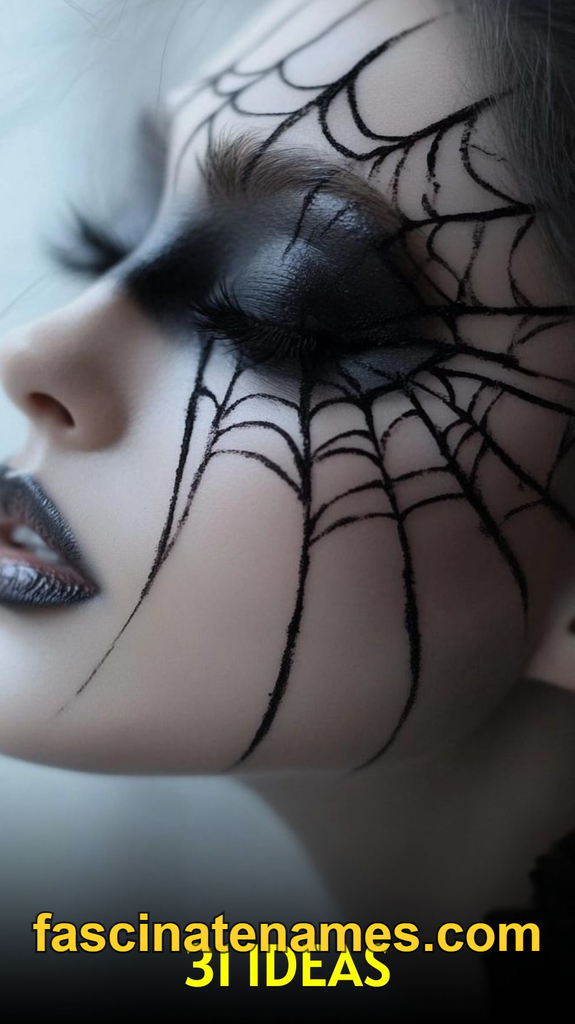
Longevity matters most with detailed or brightly colored looks, since even small smudges are noticeable. Always finish with a dedicated, alcohol-based setting spray rather than skipping this step, especially over cream products and metallics. Avoid touching your face throughout the night, and if you’re dancing or sweating, blot rather than wipe to avoid smearing linework. Packing a small touch-up kit with a fine brush and your key colors means you can quickly fix any smudging without redoing the whole look.
How to Remove Bold Makeup Without Damaging Skin
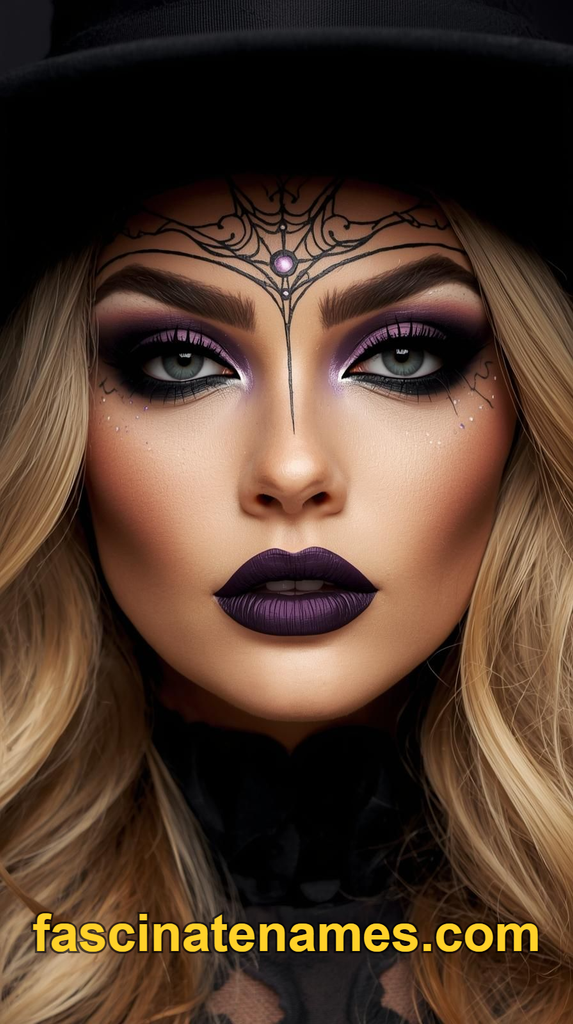
Layered, pigmented looks require a gentler, more thorough removal process than everyday makeup. Start with a cleansing oil or micellar water to break down face paint, metallics, and glitter before rinsing. Use a soft cloth rather than scrubbing, particularly around delicate areas like the eyes and lips. Follow with a hydrating moisturizer afterward, since setting sprays and heavy pigment can leave skin feeling dry.
Frequently Asked Questions About Cool Halloween Makeup
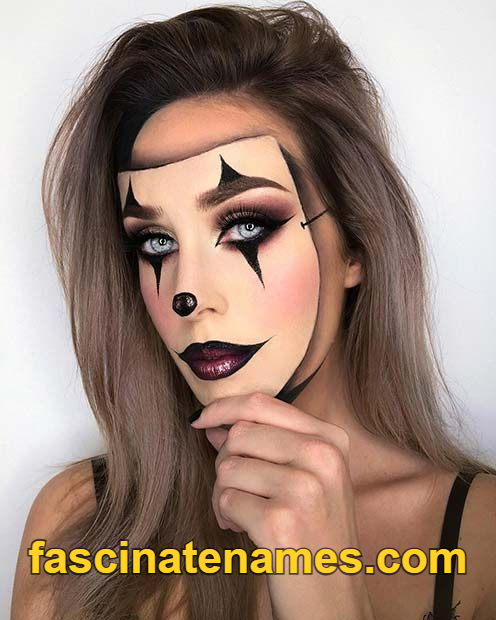
Do I need professional makeup skills to pull off these looks? No — many “cool” Halloween looks rely more on color placement and confidence than advanced technique. Starting with a simplified version and building up detail over time is a great way to develop skill.
What’s the best budget-friendly way to try a bold look? A single well-placed element, like metallic eyeshadow or a few rhinestones, can make a huge visual impact without needing a full product collection.
How do I keep glitter from falling everywhere? Always apply glitter over a tacky base like a cream shadow, glitter glue, or petroleum jelly, and use a light-handed patting motion rather than rubbing it in.
Can these looks be done without face paint? Yes — many cosmic, geometric, and elegant looks can be achieved with regular eyeshadow, cream liner, and highlighter, especially if the design is concentrated around the eyes rather than the full face.
Final Thoughts on Creating a Standout Halloween Look
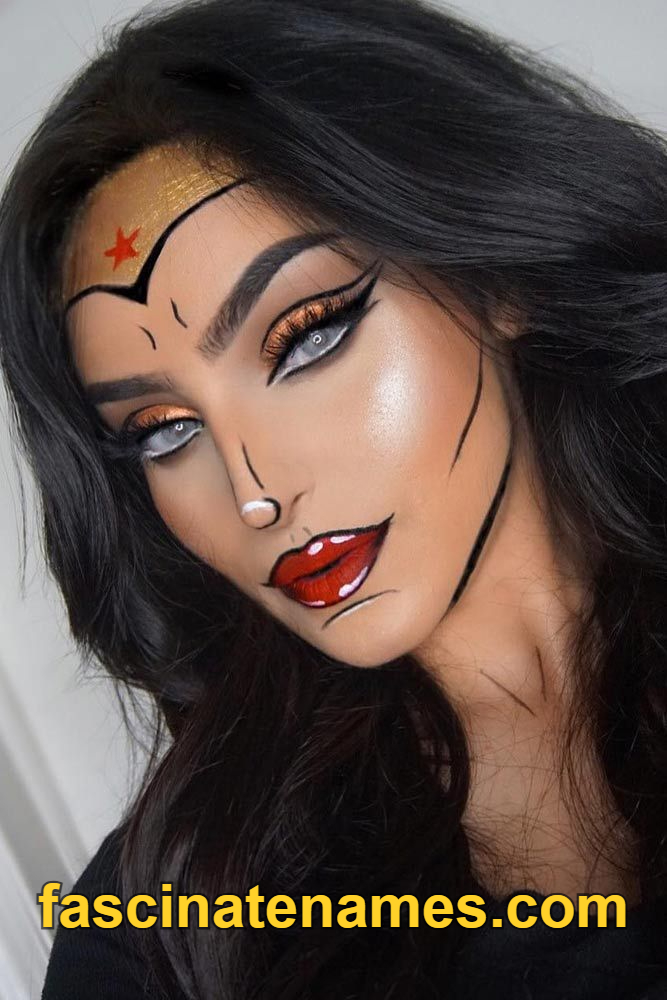
Cool Halloween makeup is all about creative expression through color, shape, and shine rather than fear. Whether you choose a shimmering cosmic design, sharp geometric linework, or an elegant stylized skeleton, the key to a standout look lies in careful planning, proper skin prep, and confident color placement. With the right products and a bit of patience, you can create a Halloween makeup look that’s genuinely impressive — the kind people stop you to compliment rather than scream at.