Introduction: Why Zombie Makeup Never Goes Out of Style
Zombie makeup has been a fan favorite for decades, dominating Halloween parties, horror movie sets, and cosplay conventions. Its popularity lies in its versatility—whether you want a simple undead look for a party or a Hollywood-level terrifying zombie, the possibilities are endless. With the right tools, techniques, and creativity, you can transform yourself into a convincing member of the undead army.

Essential Zombie Makeup Supplies You’ll Need

Before you dive in, gather the necessary supplies for your zombie transformation:
- Foundation or white face paint for a pale, lifeless base
- Black, grey, and green eyeshadows for depth and bruising
- Fake blood or red lipstick for gory details
- Liquid latex or tissue paper for wounds and peeling skin
- Makeup brushes and sponges for blending
- Setting spray to keep your zombie look intact
Pro Tip: If you’re on a budget, household items like tissue paper and coffee grounds can double as zombie skin and dirt.
Step-by-Step Guide: Creating the Perfect Zombie Face

- Prep Your Skin – Cleanse and moisturize to create a smooth base.
- Apply the Base – Use a pale foundation or white paint for that dead look.
- Add Sunken Shadows – Contour cheeks, temples, and eyes with grey or black eyeshadow.
- Create Bruises and Rotting Skin – Blend purple, red, and green shades for realistic bruises.
- Make Wounds – Apply liquid latex or tissue to create peeling skin and scars.
- Finish with Blood – Add fake blood around wounds and mouth for maximum gore.
- Set Your Look – Use a setting spray to keep your zombie makeup intact all night.
Different Styles of Zombie Makeup to Try
Zombie makeup isn’t one-size-fits-all. Here are some creative ideas:
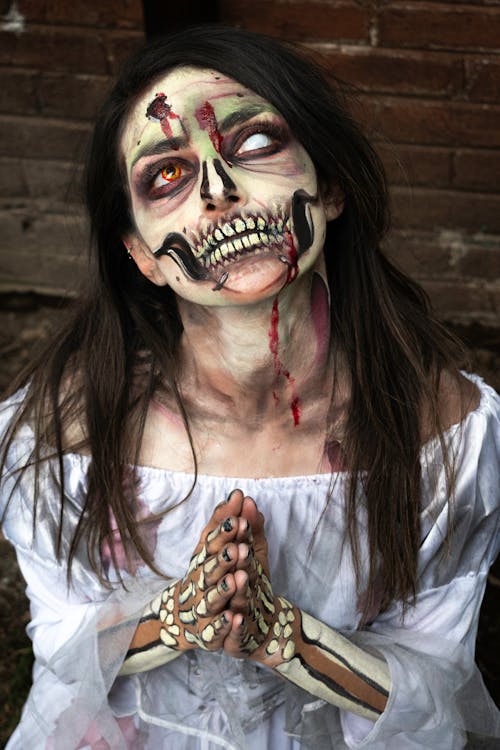
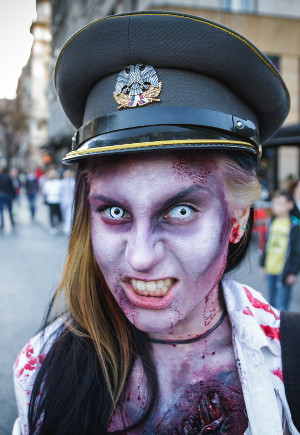
- Classic Decaying Zombie – Sunken eyes, grey skin, and lots of fake blood.
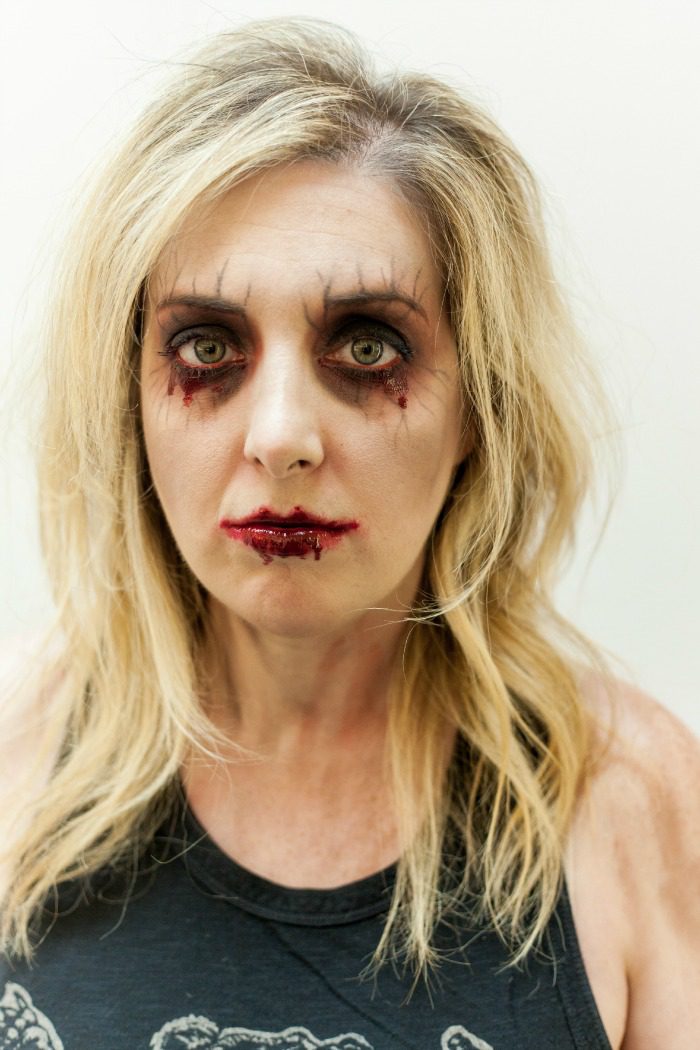
- Freshly Turned Zombie – Subtle bruises and a slightly pale look, perfect for beginners.
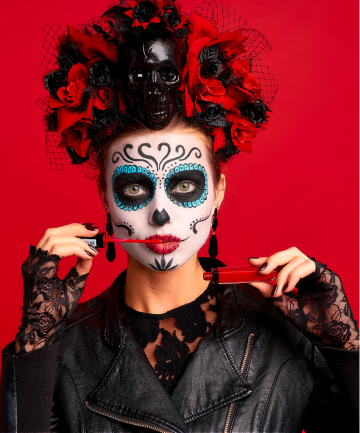
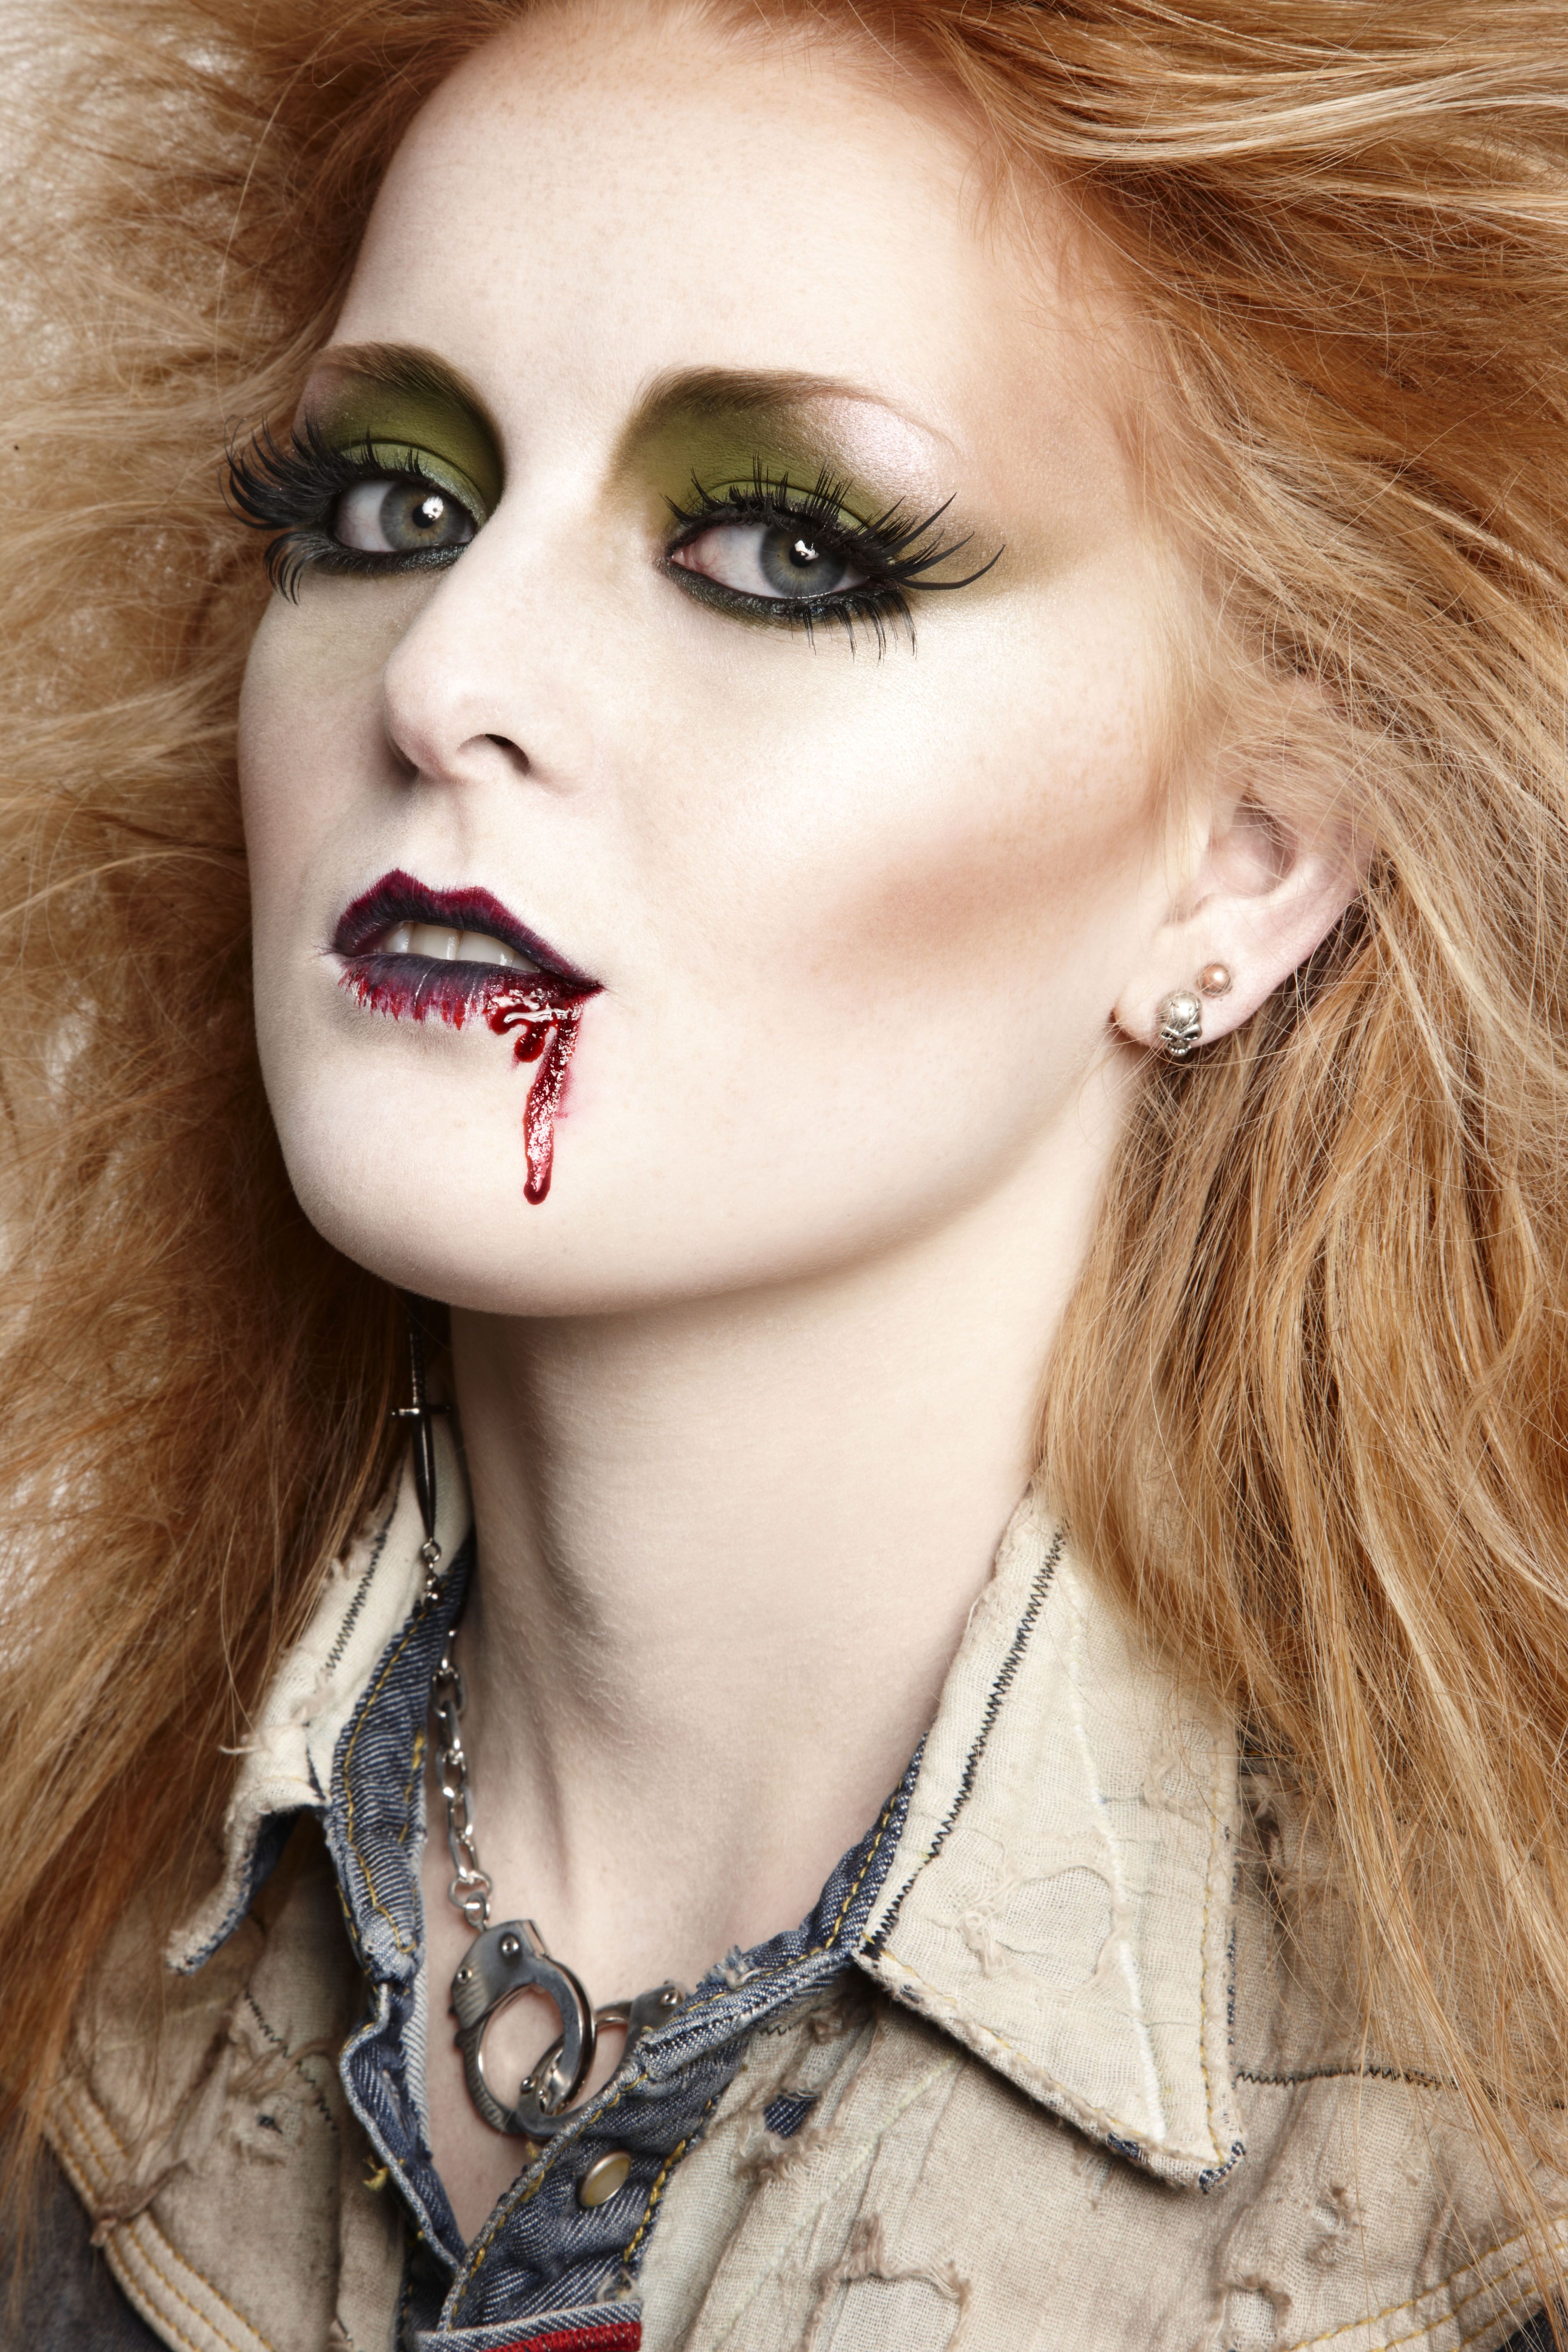
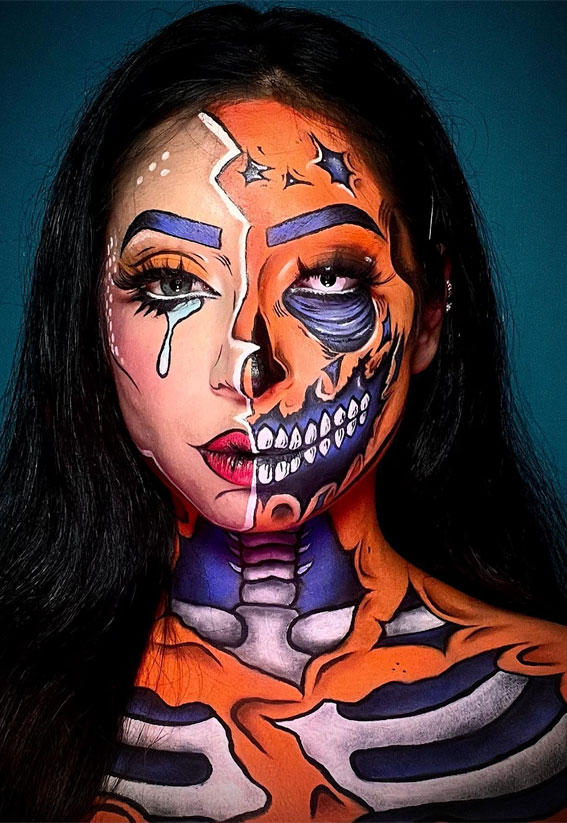
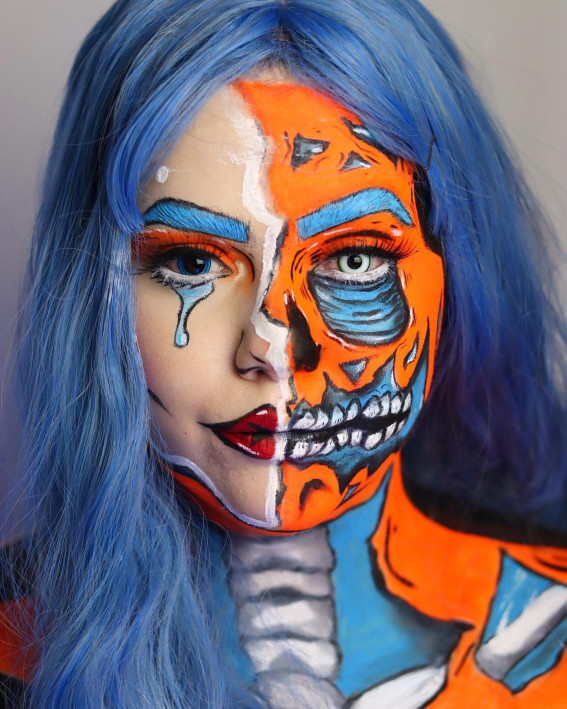
- Glam Zombie – Sparkly eye makeup with gory details for a stylish undead vibe.
- Apocalyptic Zombie – Add dirt, torn clothing, and scars for a post-apocalyptic effect.
- Zombie Bride or Groom – Ideal for themed weddings or Halloween parties.
DIY Zombie Makeup Hacks Using Household Items
- Tissue Paper + Glue = Realistic wounds
- Coffee Grounds = Dirt and decay
- Red Food Coloring = Fake blood substitute
- Old Eyeshadow Palettes = Perfect for bruising effects
- Petroleum Jelly = Glossy, gory wound finish
How to Make Realistic Zombie Wounds
For authentic, gruesome wounds:
- Apply liquid latex or white glue where you want a wound.
- Layer tissue paper and tear it slightly.
- Paint with red, black, and purple shades.
- Add fake blood for finishing touches.
Zombie Makeup for Beginners: Quick and Easy Ideas

- Use only black eyeshadow around the eyes for a hollowed look.
- Skip latex and focus on pale skin with bruises.
- Add red lipstick smudges for a “just bitten” effect.
- Wear messy hair for added realism.
Professional Zombie Makeup Techniques
- Airbrushing: For smooth, seamless color transitions.
- Prosthetics: Use silicone prosthetics for extreme realism.
- 3D Wounds: Combine latex with gelatin for raised scars.
- Color Layering: Build up multiple layers of color for depth.
Zombie Makeup for Kids: Safe and Fun

When doing zombie makeup for children:
- Use hypoallergenic, non-toxic products.
- Avoid liquid latex or harsh adhesives.
- Focus on fun, less scary designs like cartoonish zombies.
- Keep the application process quick and comfortable.
Long-Lasting Zombie Makeup Tips
- Always use primer before applying makeup.
- Seal your look with setting spray.
- Carry a small makeup kit for touch-ups.
- Avoid touching your face frequently.
Removing Zombie Makeup Without Damaging Skin

Zombie makeup can be tough to remove. Here’s how:
- Use oil-based makeup removers to dissolve latex and fake blood.
- Cleanse your skin thoroughly with a gentle face wash.
- Apply moisturizer to restore hydration.
- Avoid harsh scrubbing to prevent irritation.
Zombie Makeup Inspiration from Movies and TV
Looking for ideas? Check out:
- The Walking Dead – Iconic realistic zombie looks.
- World War Z – Fast, feral zombies with terrifying makeup.
- Resident Evil – Mutated zombie designs for hardcore fans.
- Train to Busan – Subtle yet effective zombie aesthetics.
Pairing Zombie Makeup with the Perfect Costume
- Tattered clothing with fake blood stains.
- Messy, teased hair or wigs.
- Zombie accessories like chains, masks, or weapons.
- Dirty sneakers or worn-out boots to complete the look.
Common Mistakes to Avoid

- Overusing fake blood, making it look unnatural.
- Forgetting to blend makeup for a seamless look.
- Using products that aren’t skin-safe.
- Neglecting to set your makeup, leading to smudging.
Conclusion: Unleash Your Inner Undead
Zombie makeup is all about creativity and storytelling. Whether you’re a beginner experimenting for a Halloween party or an artist pushing the boundaries of special effects, zombie makeup offers endless room for expression. Gather your tools, practice your technique, and bring your terrifying undead vision to life!

Alexander Smith is an accomplished blogger with years of experience in crafting engaging and insightful content. Known for his expertise and passion for storytelling, Alexander brings a unique perspective to Fascinate Names, captivating readers with his thoughtful analysis and fresh ideas. His extensive background in digital media and writing makes him a valuable voice in the blogging community.