Nail art is one of the most fun and creative ways to express yourself. Whether you’re getting ready for a night out, adding a pop of color to your everyday look, or simply indulging in a little self-care, beautifully decorated nails can make all the difference. And the best part? You don’t have to be a professional to create stunning nail art! With a few tools and some practice, anyone can master easy nail designs at home.
Why Try Nail Art at Home?

- Cost-Effective: Salon visits can add up. Doing your own nails saves money in the long run.
- Convenience: No appointments, no waiting — just grab your supplies and go.
- Creative Outlet: Nail art allows you to play with colors, patterns, and textures.
- Therapeutic: Painting your nails can be a calming, almost meditative activity.
Tools You’ll Need
You don’t need a full nail tech kit to start. A few essentials include:

- Base coat and top coat – for protection and longevity.
- Nail polish in various colors
- Dotting tool (or a bobby pin or toothpick)
- Striping tape or thin brushes
- Nail polish remover and cotton swabs
- Q-tips for cleanup
- Optional: Nail stickers, gems, or stamps
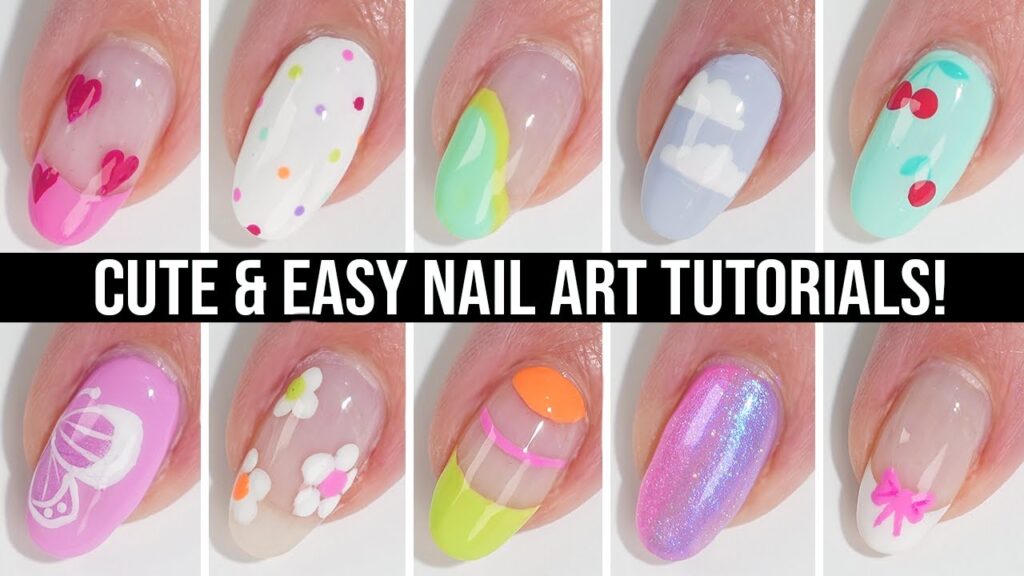
Easy Nail Art Ideas for Beginners
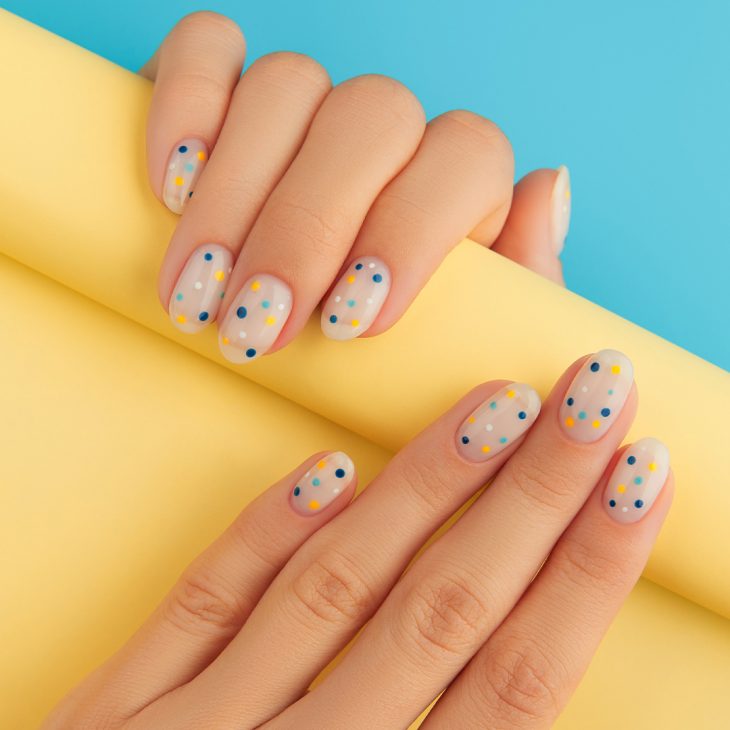
1. Polka Dots

Start with a base color and use a dotting tool or bobby pin to create dots in a contrasting color. This design is classic, playful, and super simple.
2. Accent Nail
Paint all your nails one color and choose a single nail (usually the ring finger) to add a glitter polish or a different design. Easy but effective!
3. Color Block
Use tape to section off your nail and paint each section a different color. Let each color dry before applying the next to avoid smudging.
4. Ombre Nails
Use a makeup sponge to dab on two or more colors that blend together. It takes a bit of practice, but the result looks super professional.
5. Striped Nails
Use striping tape to create clean, straight lines or geometric patterns. Paint over the tape, then peel it off before the polish dries.
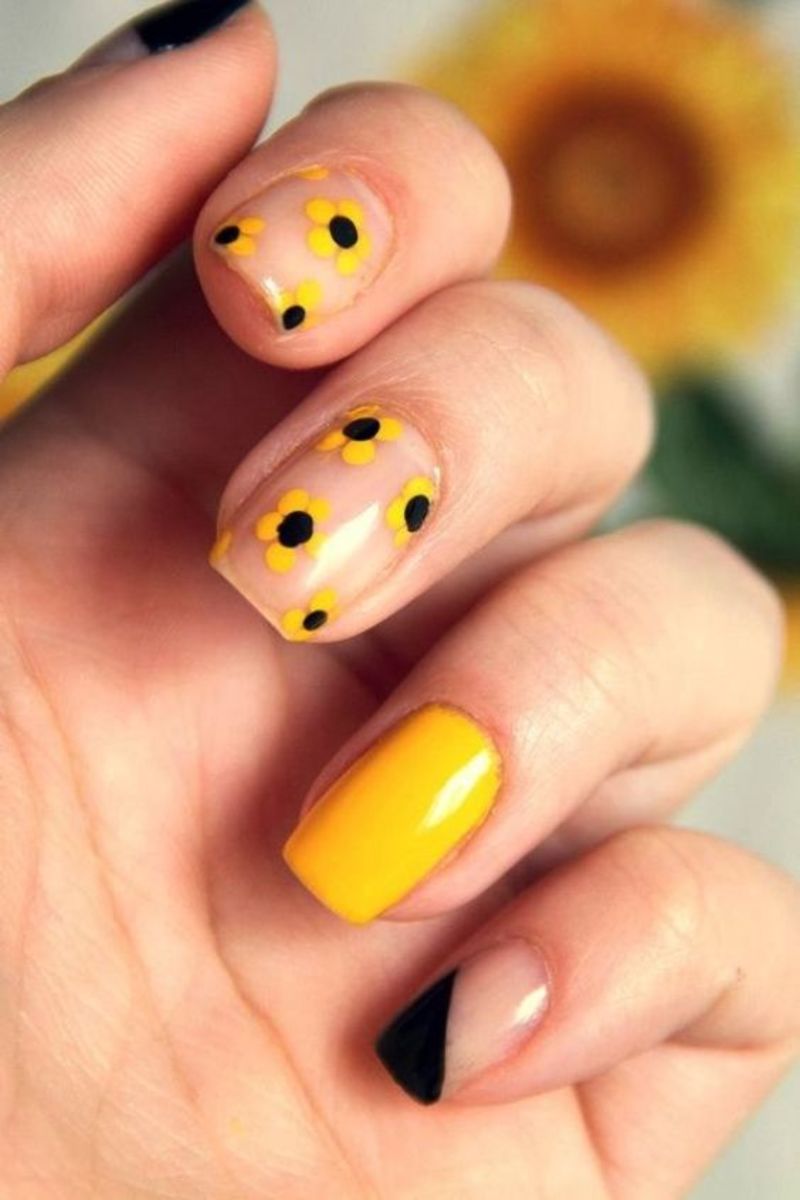
6. Flower Power
Use a dotting tool to make tiny flower petals around a central dot. This looks cute and works great in spring and summer palettes.
7. French Tip with a Twist
Instead of the classic white, try doing French tips in bold colors, glitter, or even a gradient effect.
Tips for Perfecting Your Nail Art
- Work in layers: Always let each layer dry before adding another.
- Don’t skip the base coat: It helps polish adhere better and protects your nails.
- Clean up as you go: Use a thin brush or Q-tip dipped in remover for a tidy finish.
- Practice on one nail: Try your design on your pinky or a nail wheel first.
- Seal it in: A good top coat will make your design last and give it a glossy finish.
Nail Art Inspiration by Season
- Spring: Pastels, floral designs, baby blue skies
- Summer: Bright colors, fruit designs, beach themes
- Fall: Earth tones, leaves, matte finishes
- Winter: Glitter, snowflakes, deep reds and blues
How to Remove Nail Art Without Damaging Your Nails
Soak a cotton pad in remover, place it on your nail, and wrap with foil. Let sit for 5-10 minutes before wiping off. Avoid scraping or peeling, which can weaken your nails.
Final Thoughts
You don’t need salon-level skill to create amazing nail art. With a few tools, a steady hand, and a little patience, you can turn your nails into mini canvases for creativity. Start with simple designs and build your skills — who knows, you might just fall in love with the process.

So grab your polishes and start painting — your nails are waiting for their makeover!

Alexander Smith is an accomplished blogger with years of experience in crafting engaging and insightful content. Known for his expertise and passion for storytelling, Alexander brings a unique perspective to Fascinate Names, captivating readers with his thoughtful analysis and fresh ideas. His extensive background in digital media and writing makes him a valuable voice in the blogging community.